


A Chester County Day Menu
Here I sit on a rather chilly and rainy day in late winter thinking up yet another of the annual menus that have appeared for Chester County Day for man, many years. The true labor of the project is trying to come up with a different starter, salad, entree and dessert that has not been showcased before or at least in the last fifteen or twenty years. The DAY has been going on with huge success for 84 years and we want to make sure that you are just as pleased with our showing for year number 85! And that includes our menu selection.
I base my ideas on my garden and what may still be available, what can be done ahead so that after a thrilling day of house exploration, countryside driving, and friendly Chester County Day guests, one can enjoy the fruits of the tour with your dinner guests. When the doors close at 5 and your invited guests return to your house to relax for a span of time, hopefully in front of a sparkling fire with a relaxing beverage, you all can compare your notes of which property was your choice to move to and which country road you would love to have as your new address.
The dinner one serves should not be a laborious feat to prepare on the spot as guests mingle and rehash The Day. Most of this can be done ahead of time, which alleviates the hassle of entertaining. Have the table set, the serving dishes already prepared, the soup made ahead along with the stew and the fritters. Assemble each course and serve and miss almost none of the positive critique of The Day!!! Bon Appetit! - Mike Pilligalli


“A rather simple menu that dishes up four separate courses and yet they are each light, but fulfilling. Most of the meal can be prepped and held over for the following day after the completion of the day. So, plan ahead, prepare ahead, cook ahead, set the table, get out serving pieces and come home to a gourmet dinner ready to serve your tour guests.”
Two Special Valentine’s Day Desserts:

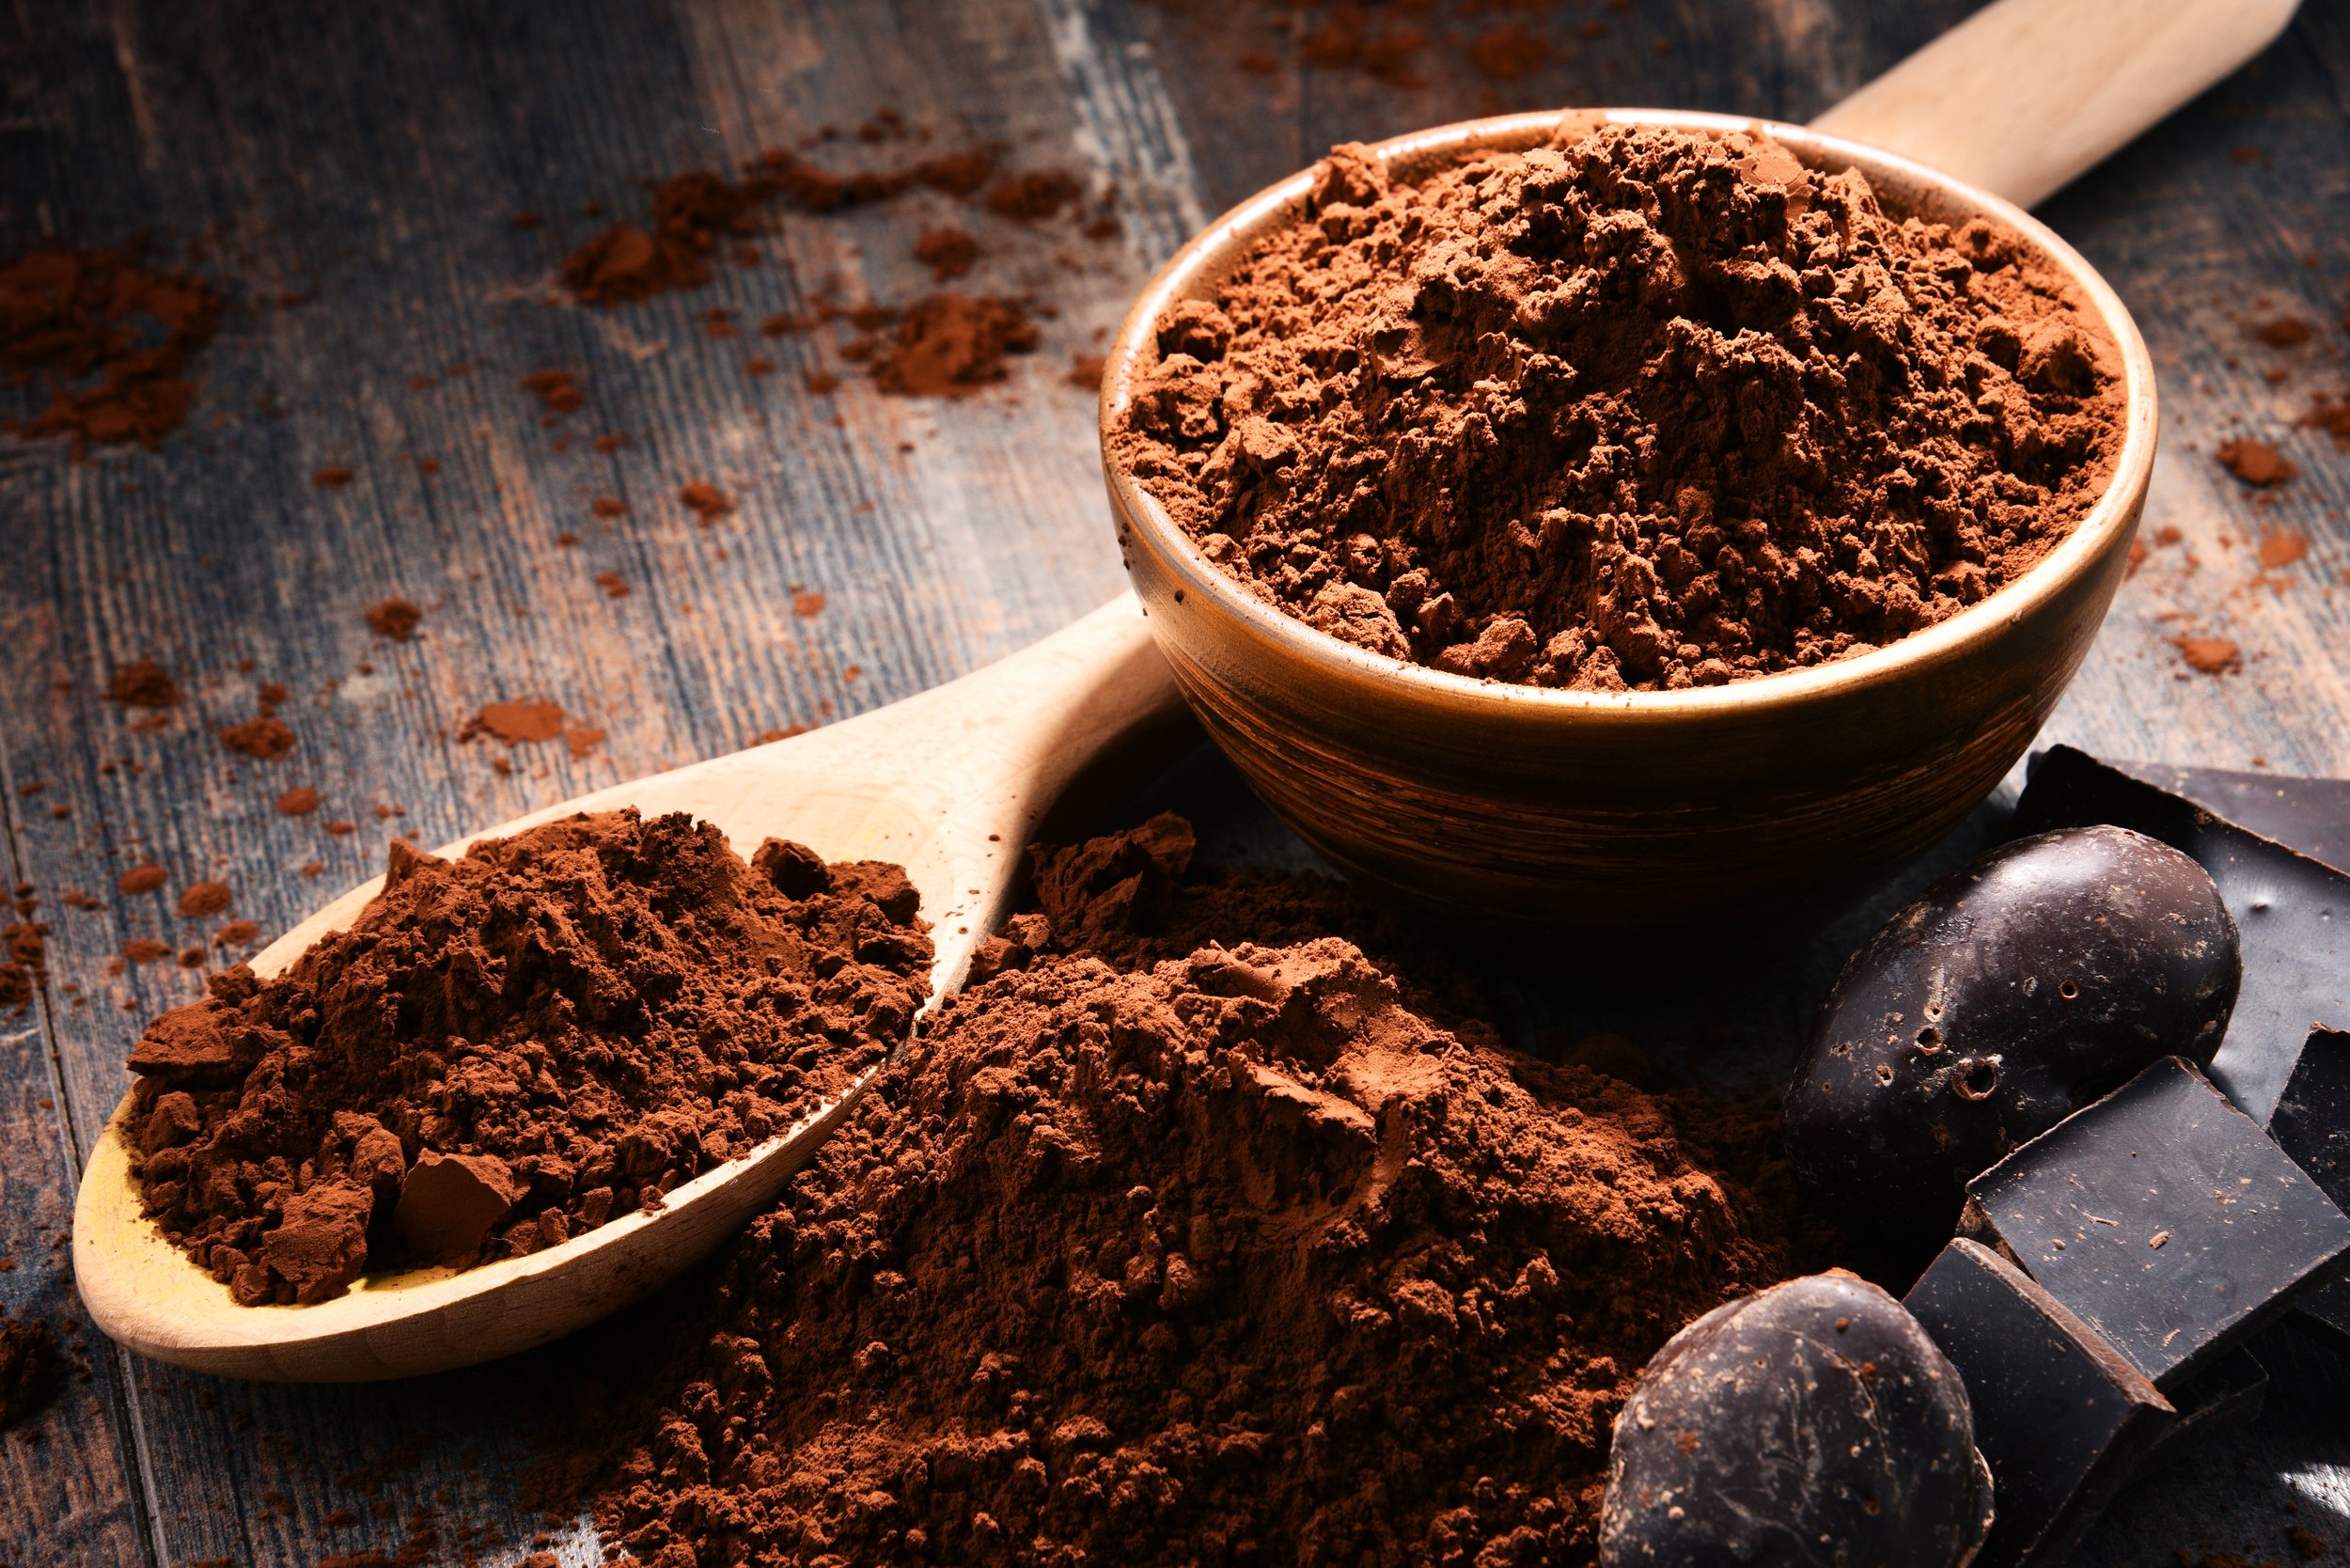
Chocolate Pizza
3/4 cup corn syrup
1/3 cup heavy cream
8 ounces of semi-sweet chocolate (may use dark chocolate)
1/2 cup unsalted butter
2/3 cup sugar
2 large eggs
1 teaspoon vanilla extract
3/4 cup flour (try rice flour if you have it in your pantry.)
1/2 teaspoon salt
Fresh or dried fruit, thinly sliced, ice cream and nuts or any other topping as desired.

Wholesome Oats:
1 1/2 cup steel cut oats
1 ½ cup milk –your choice of soy, almond or cow’s milk
1 cup pureed pumpkin pie mix- can use plain pureed pumpkin also.
¾ cup Greek yogurt
3 tbs honey or one can use maple syrup.
1 tsp vanilla
Pinch of salt
2 tbsp ground flax seed
Method:
Combine corn syrup and cream in a medium sized heavy metal saucepan over medium heat. Bring to a boil, stirring occasionally. Cut the chocolate into pieces and add to the hot mixture. Stir until the chocolate is melted and take out about ⅔ cup of the melted chocolate mixture.
Add the butter and the sugar to the remaining sauce in the heavy saucepan and stir until the butter melts and the sugar dissolves completely. Remove from the heat. Beat eggs in a separate bowl and spoon a small amount of the warm chocolate mixture into the eggs to temper the eggs and then add the eggs to the hot chocolate and stir to incorporate. Stir in the vanilla. Mix the flour and salt in yet another bowl and gradually stir into your egg/chocolate mixture. Spread the batter onto a greased pizza pan.
Bake at 350 degrees for about 20 minutes or until is firm to the touch.
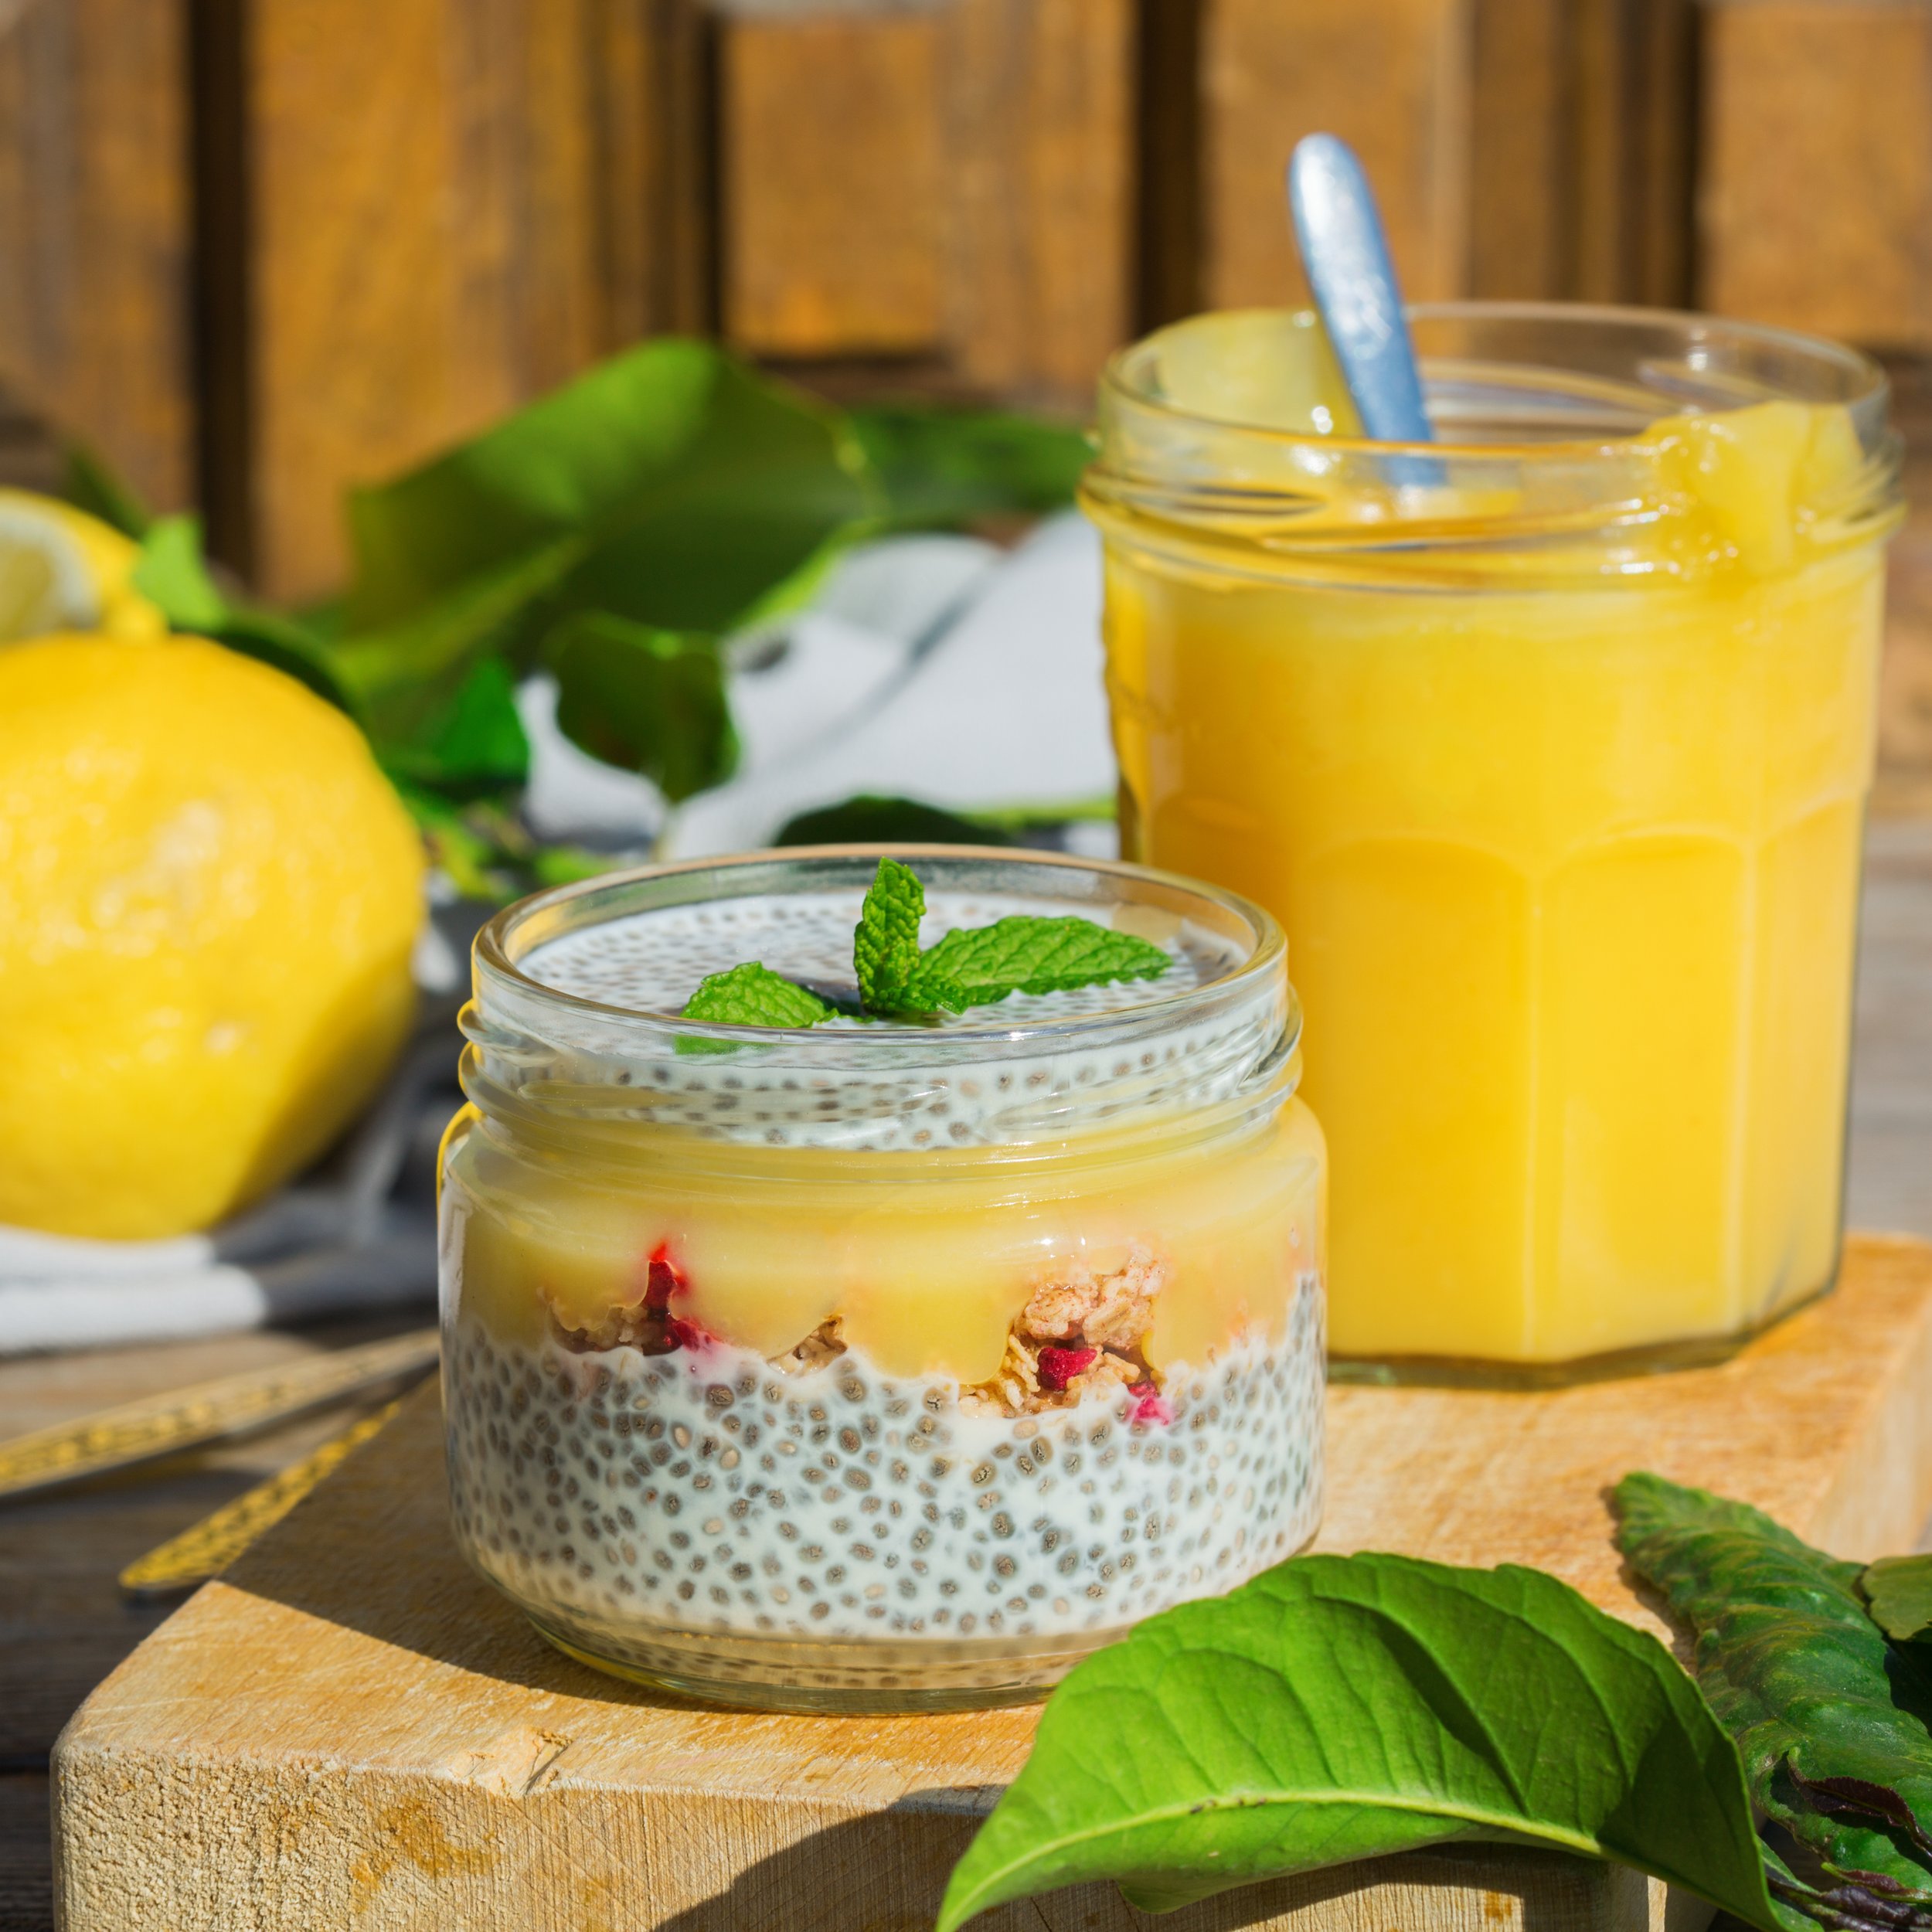
Chia Pudding:
Another make ahead treat that is very health conscious and packed with protein.
5 tbsp. Chia seeds
2 tbsp ground flax seed
1 cup milk of your choice
2 tsp honey or maple syrup
1 tbsp ground cinnamon
2 tbsp ground flax seed
Place all ingredients into a medium sized container with a tight fitting lid and shake well. Let it sit on your counter for 5 minutes and whisk, stir, or shake very well again to remove and clumps. Place in the refrigerator –next to the Overnight Oatmeal – for an overnight soaking. Remove the following morning and one can serve with fresh fruit or lemon curd also. A dash of cinnamon on top helps the taste and is good for blood sugar management.

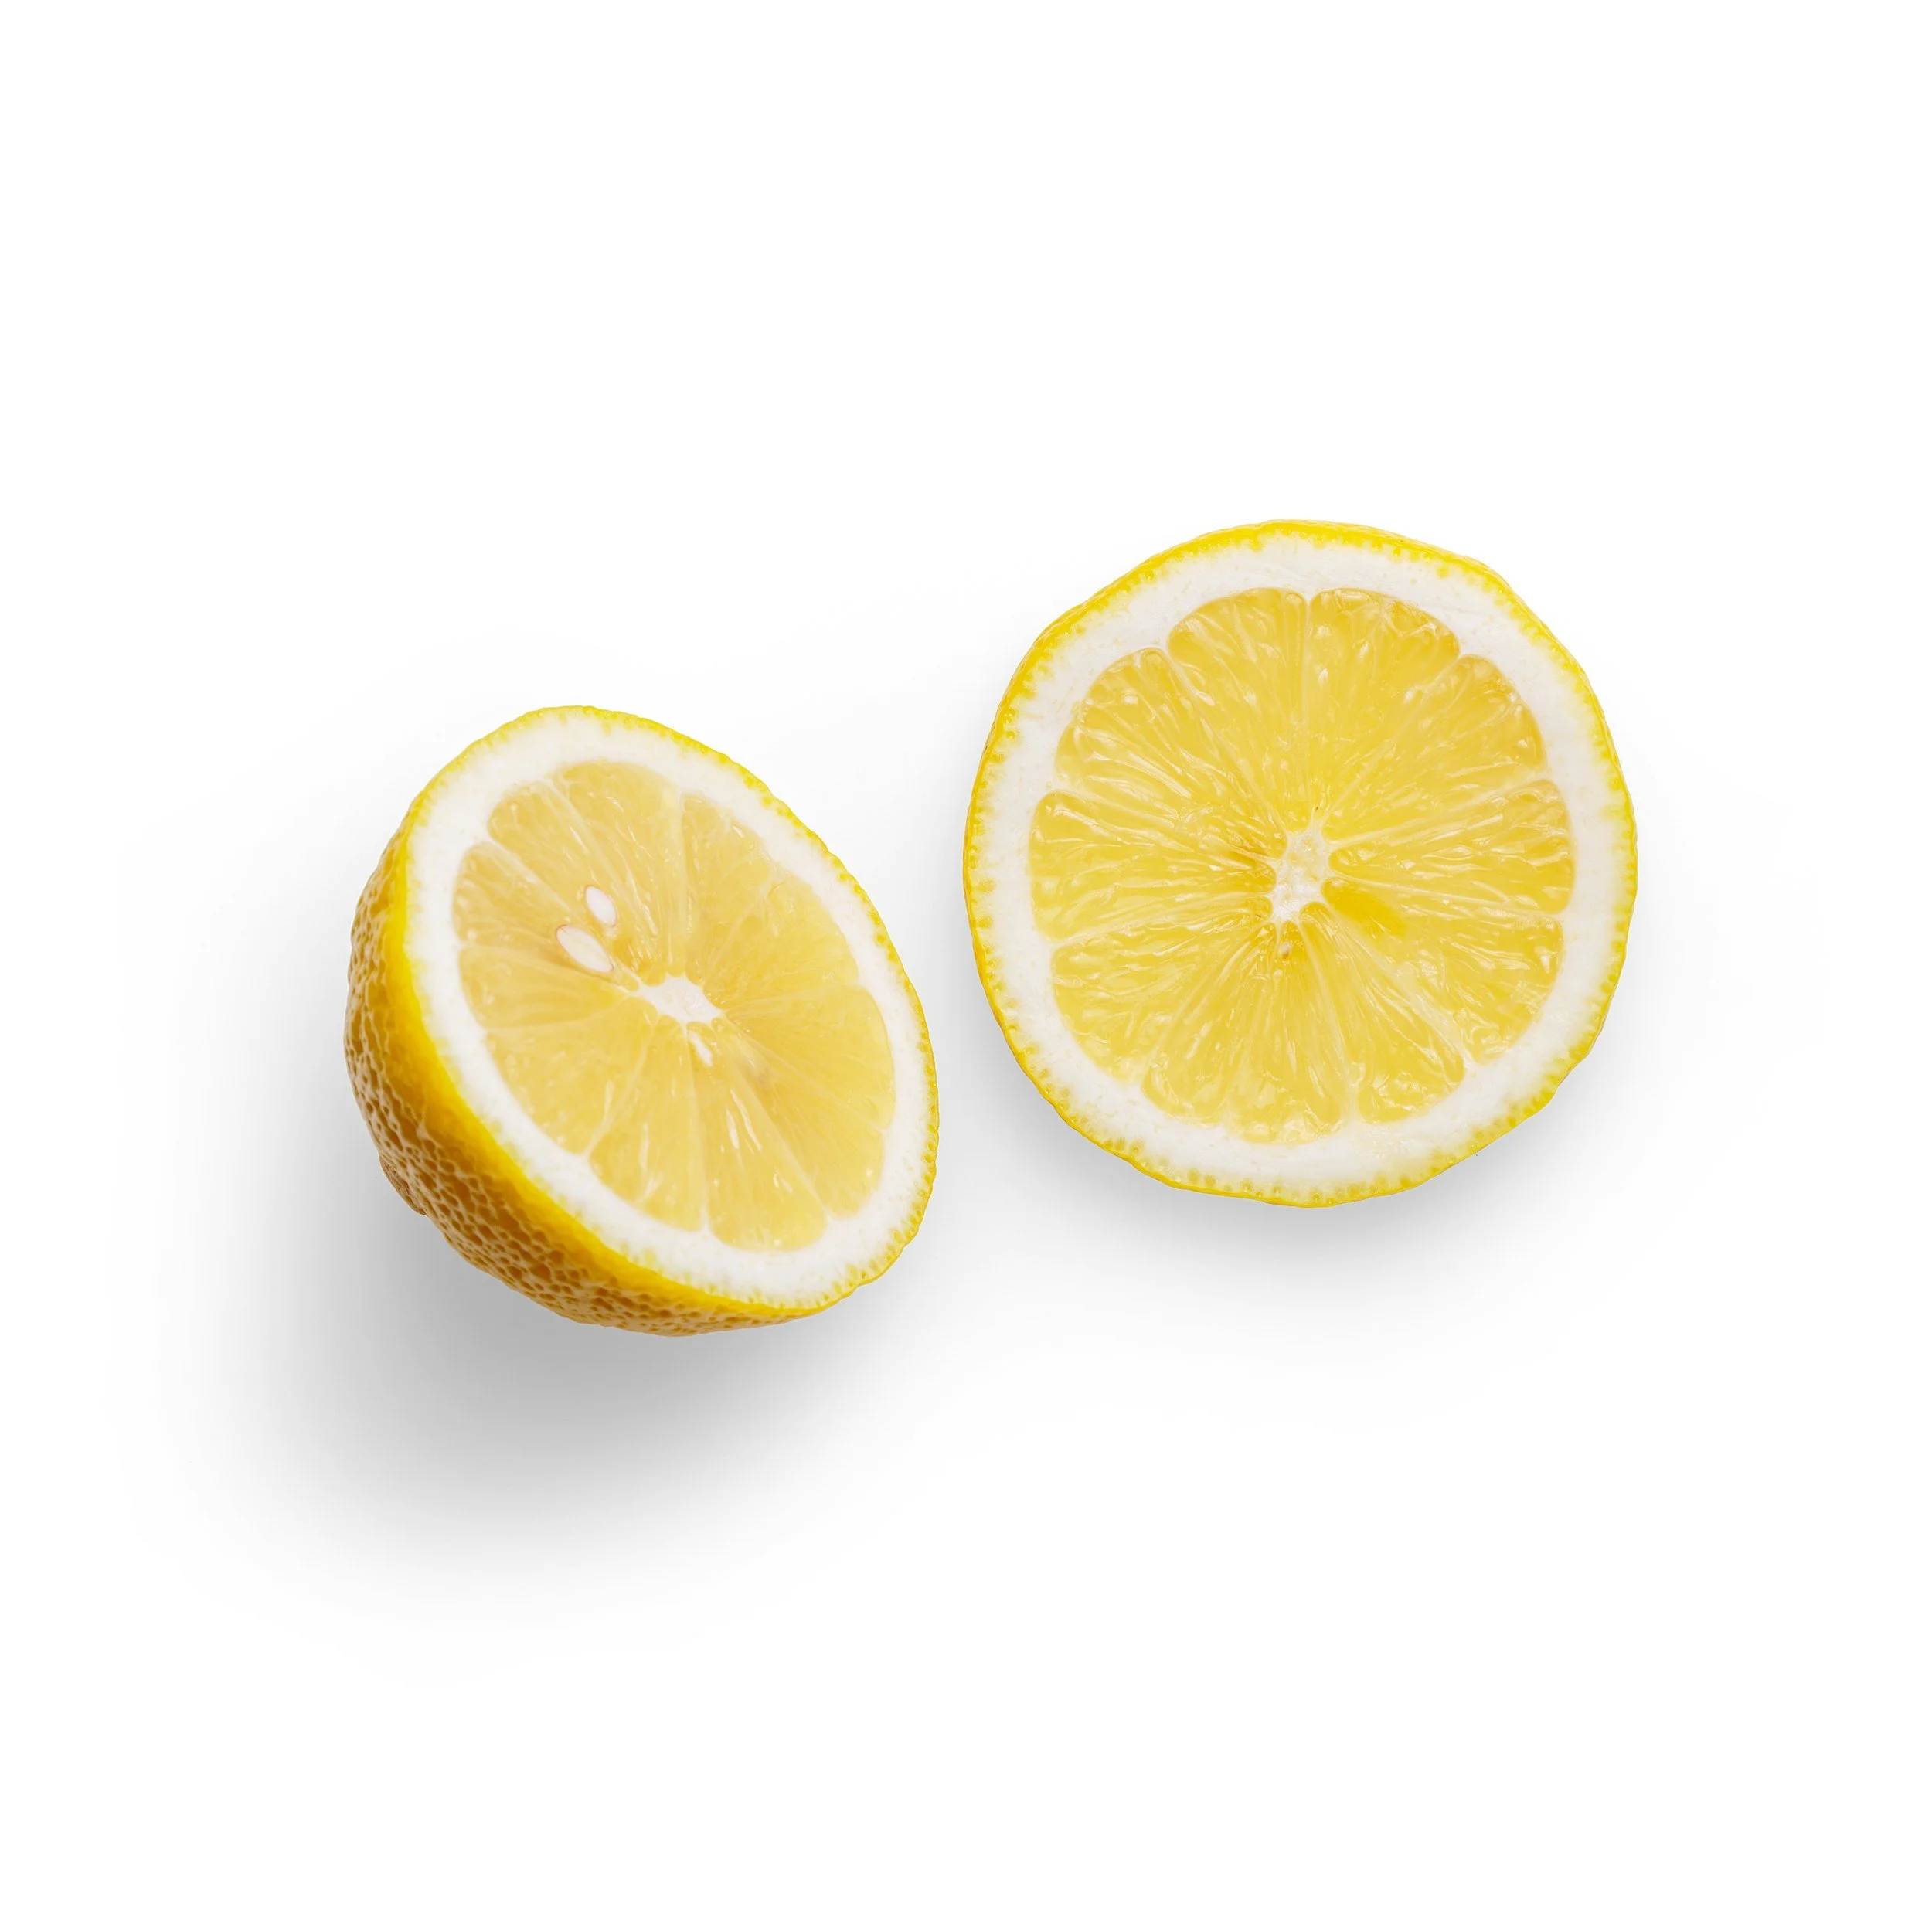
Lemon Curd:
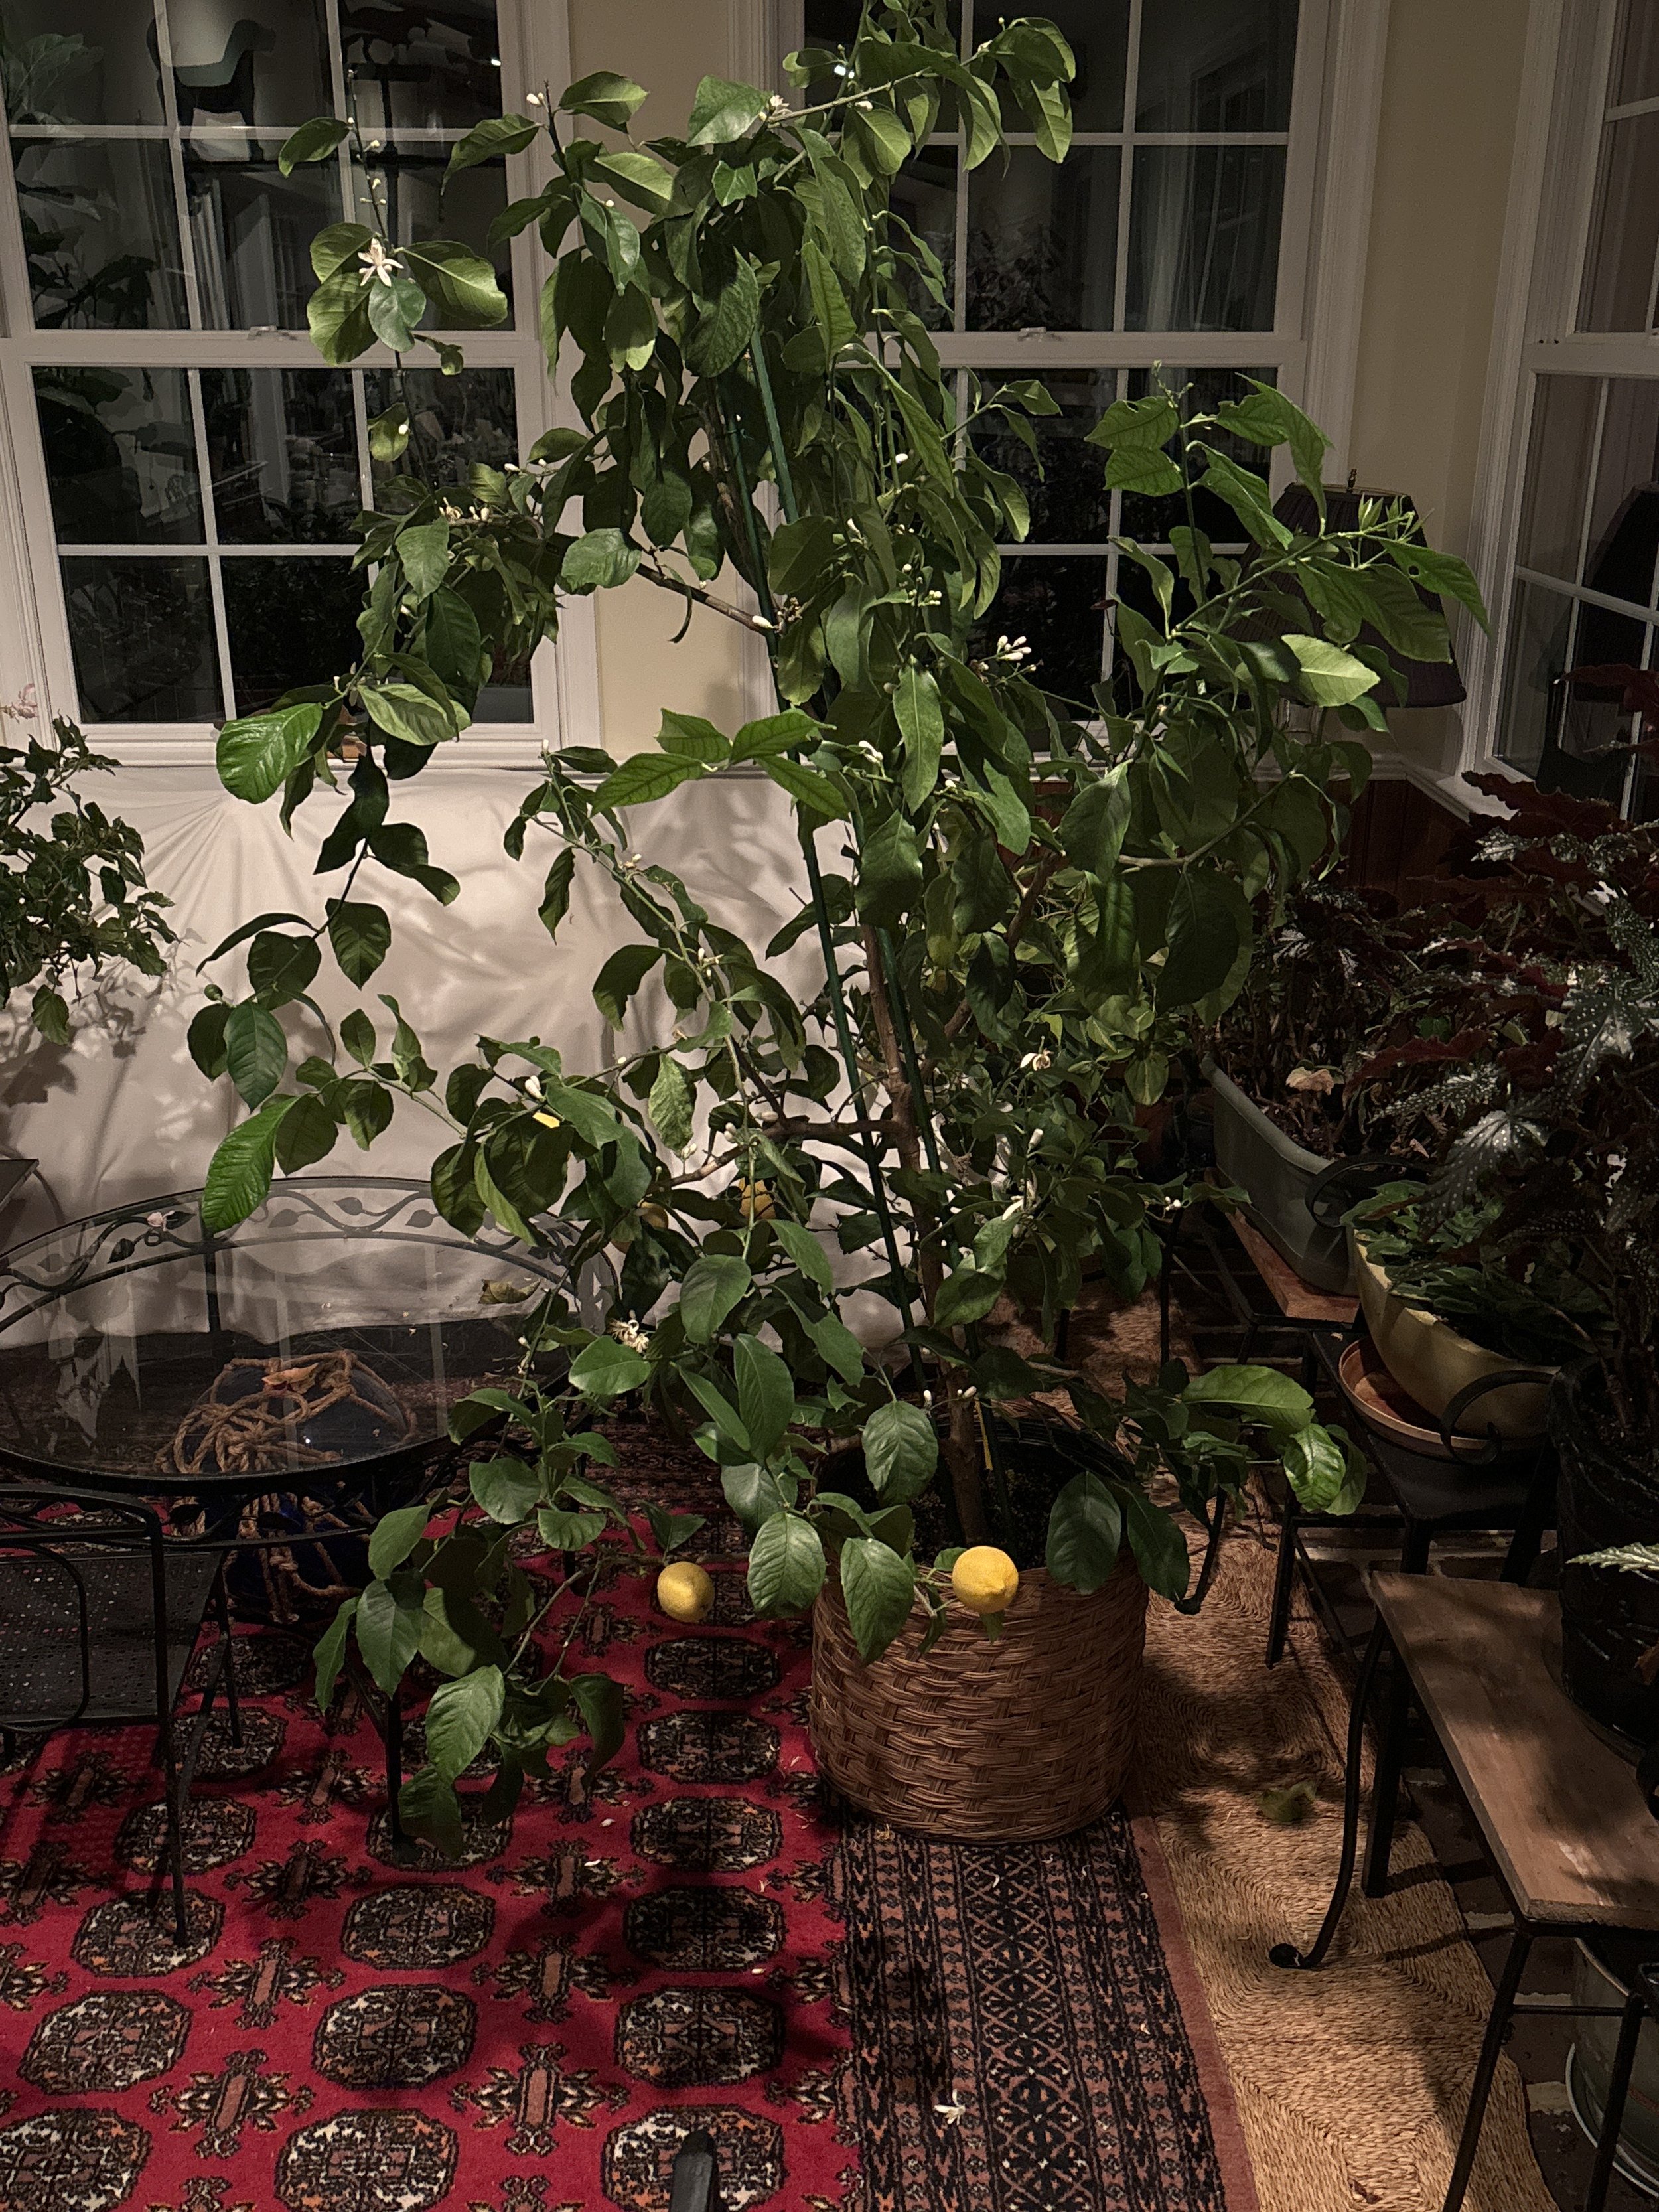
Since I am simply picking a few fresh lemons from my 6 foot tree at a time, I am enclosing this recipe as a topping for either breakfast treat above. There have been times when a small spoonful right from the jar is a quick pick me up!!
½ cup fresh lemon juice—from 3 to 4 lemons depending on their size.
3 tsp fresh finely grated lemon zest
½ cup sugar – I use demerara sugar sometimes for a different taste
3 large eggs
1 stick of unsalted butter
In a medium sized heavy saucepan whisk together the lemon juice, zest, sugar and eggs off of the heat. Place pan on medium/low heat and add the butter in small pieces stirring constantly. Watch for the curd to thicken and you can see the whisk marks while stirring. When it starts to bubble, remove immediately from the heat. This should take from 5 to 7 minutes. Simple scrape every drop from the pan into a glass bowl or lidded container and chill until cold. Cover with plastic wrap on top of the bowl to avoid a possible “skin’ if you use this method. Make sure it is chilled enough before you dig into it—3 to 4 hours or overnight is best.
Chester County Day Menu | 2024
Double Thick Stuffed Pork Chops
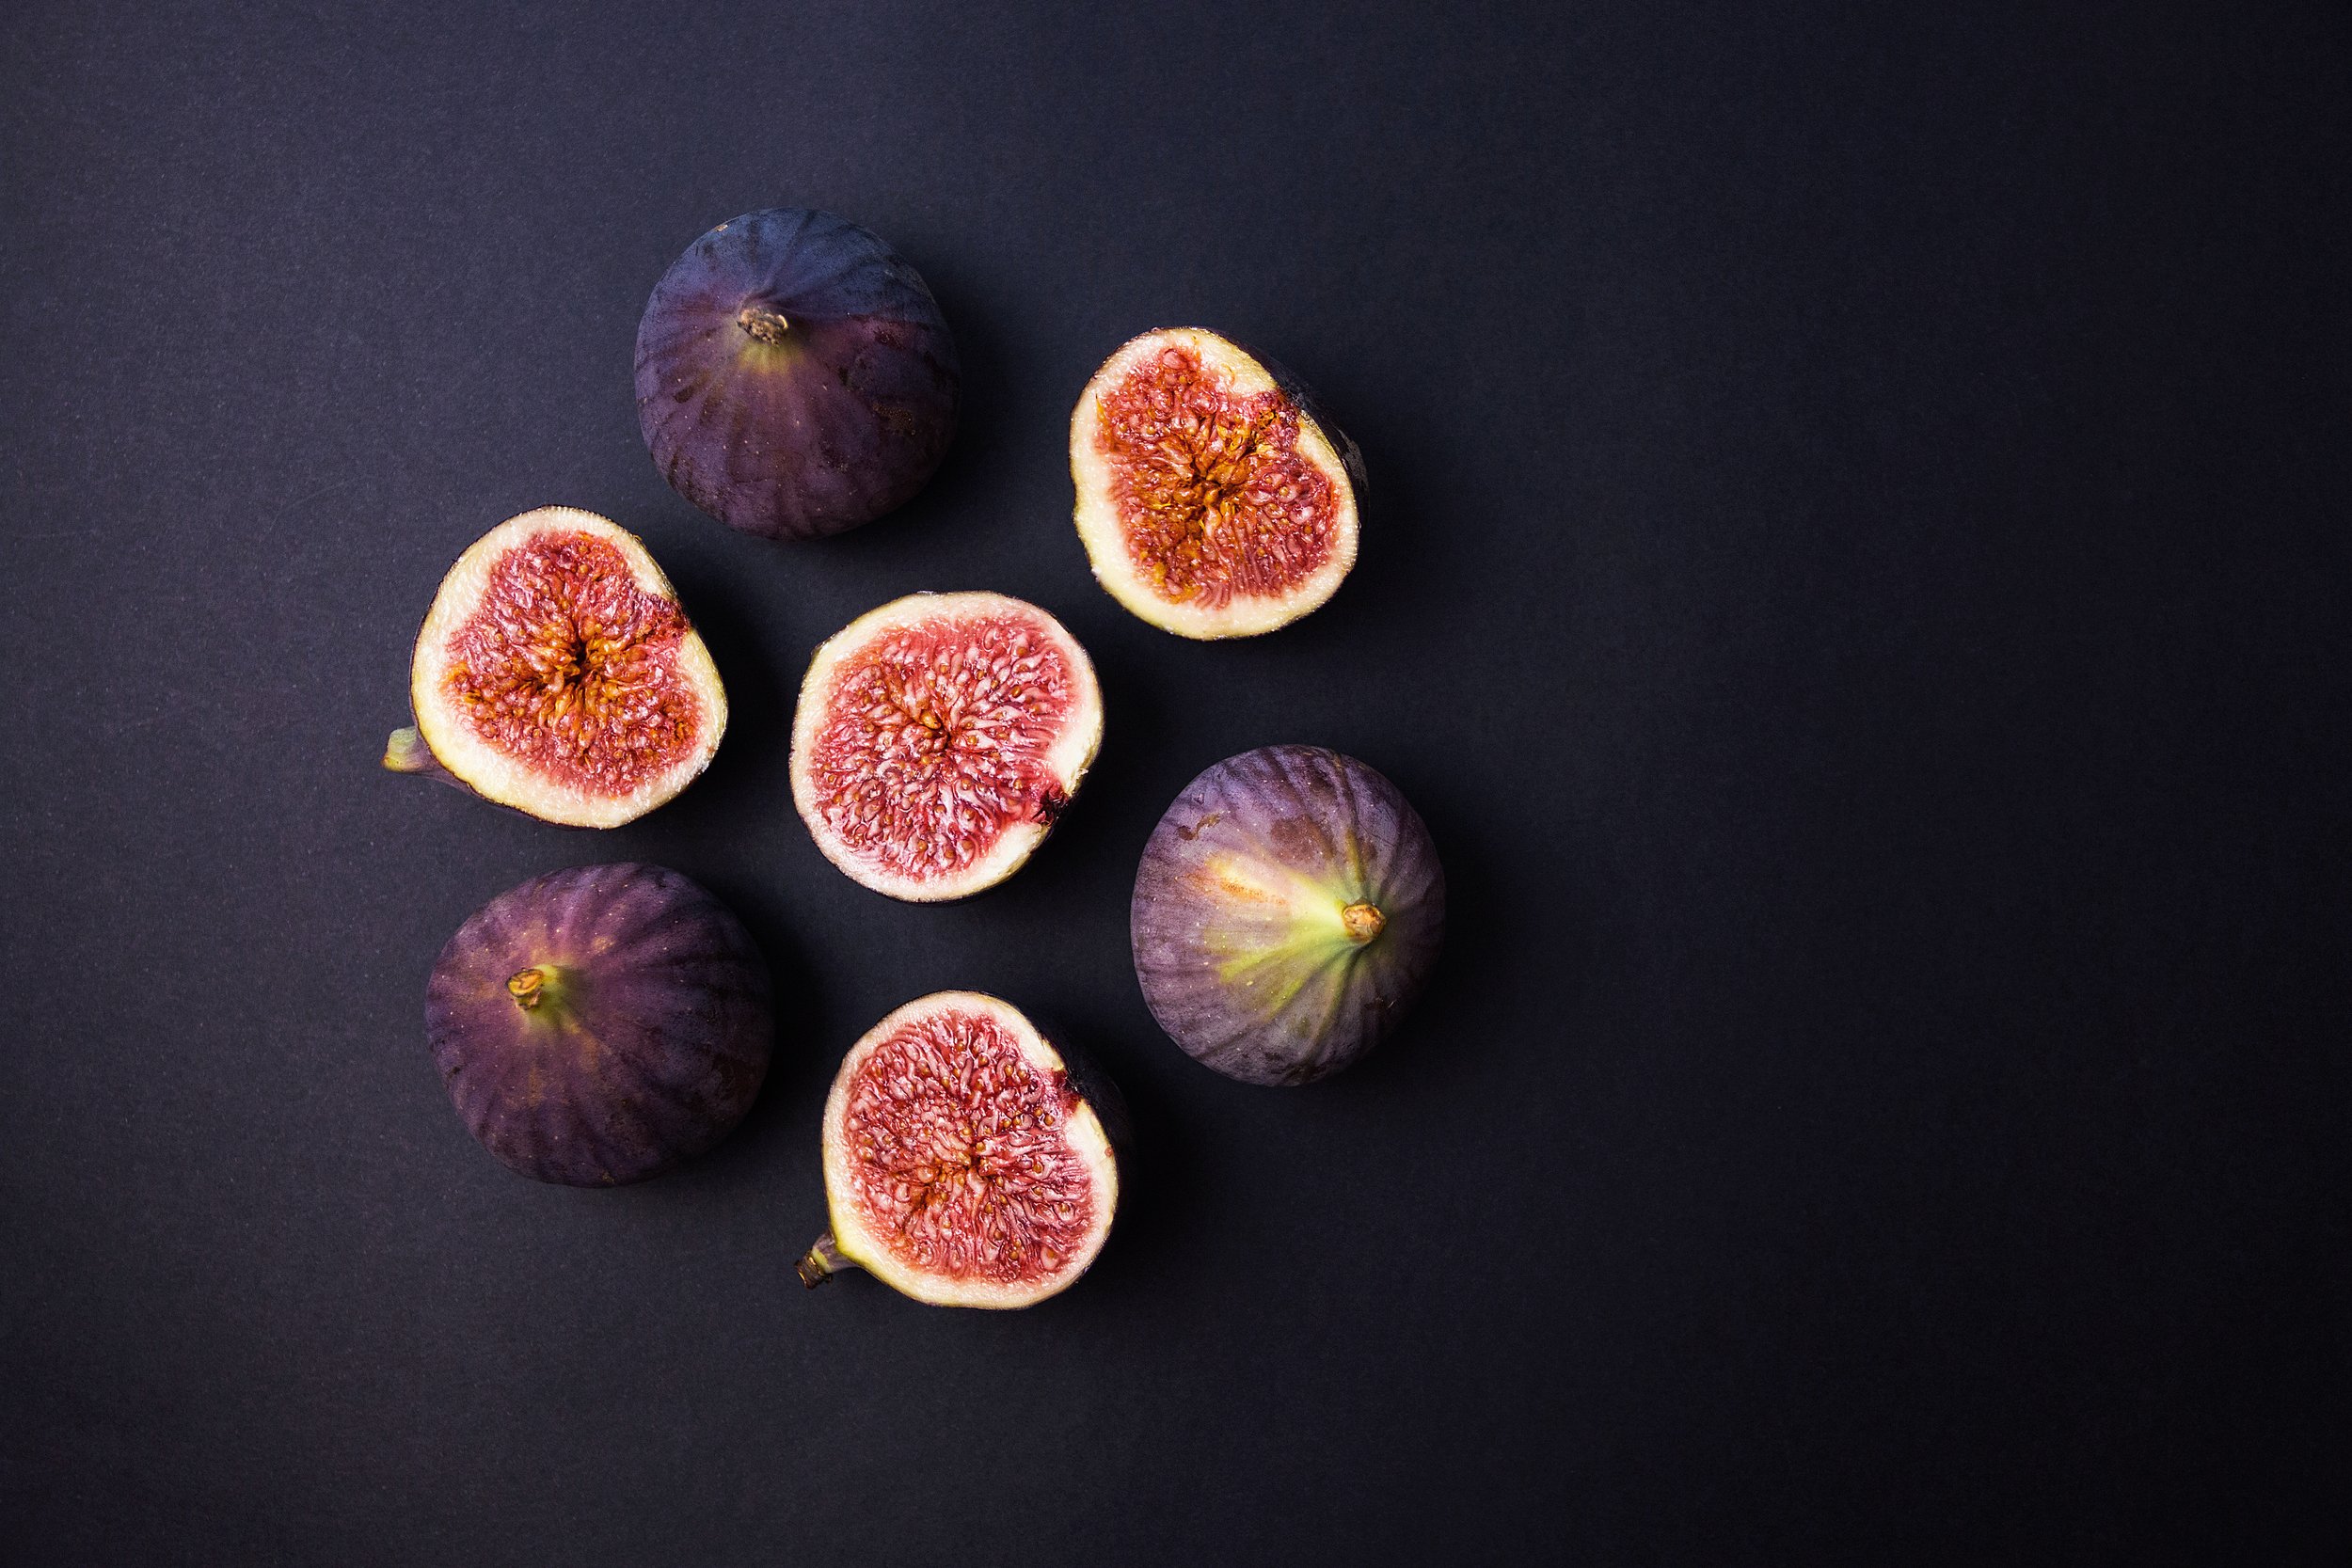
Fig Sauce
Corn Salad
Glazed Brussel Sprouts with Toasted Pecans
Chocolate Lemon Curd Tart
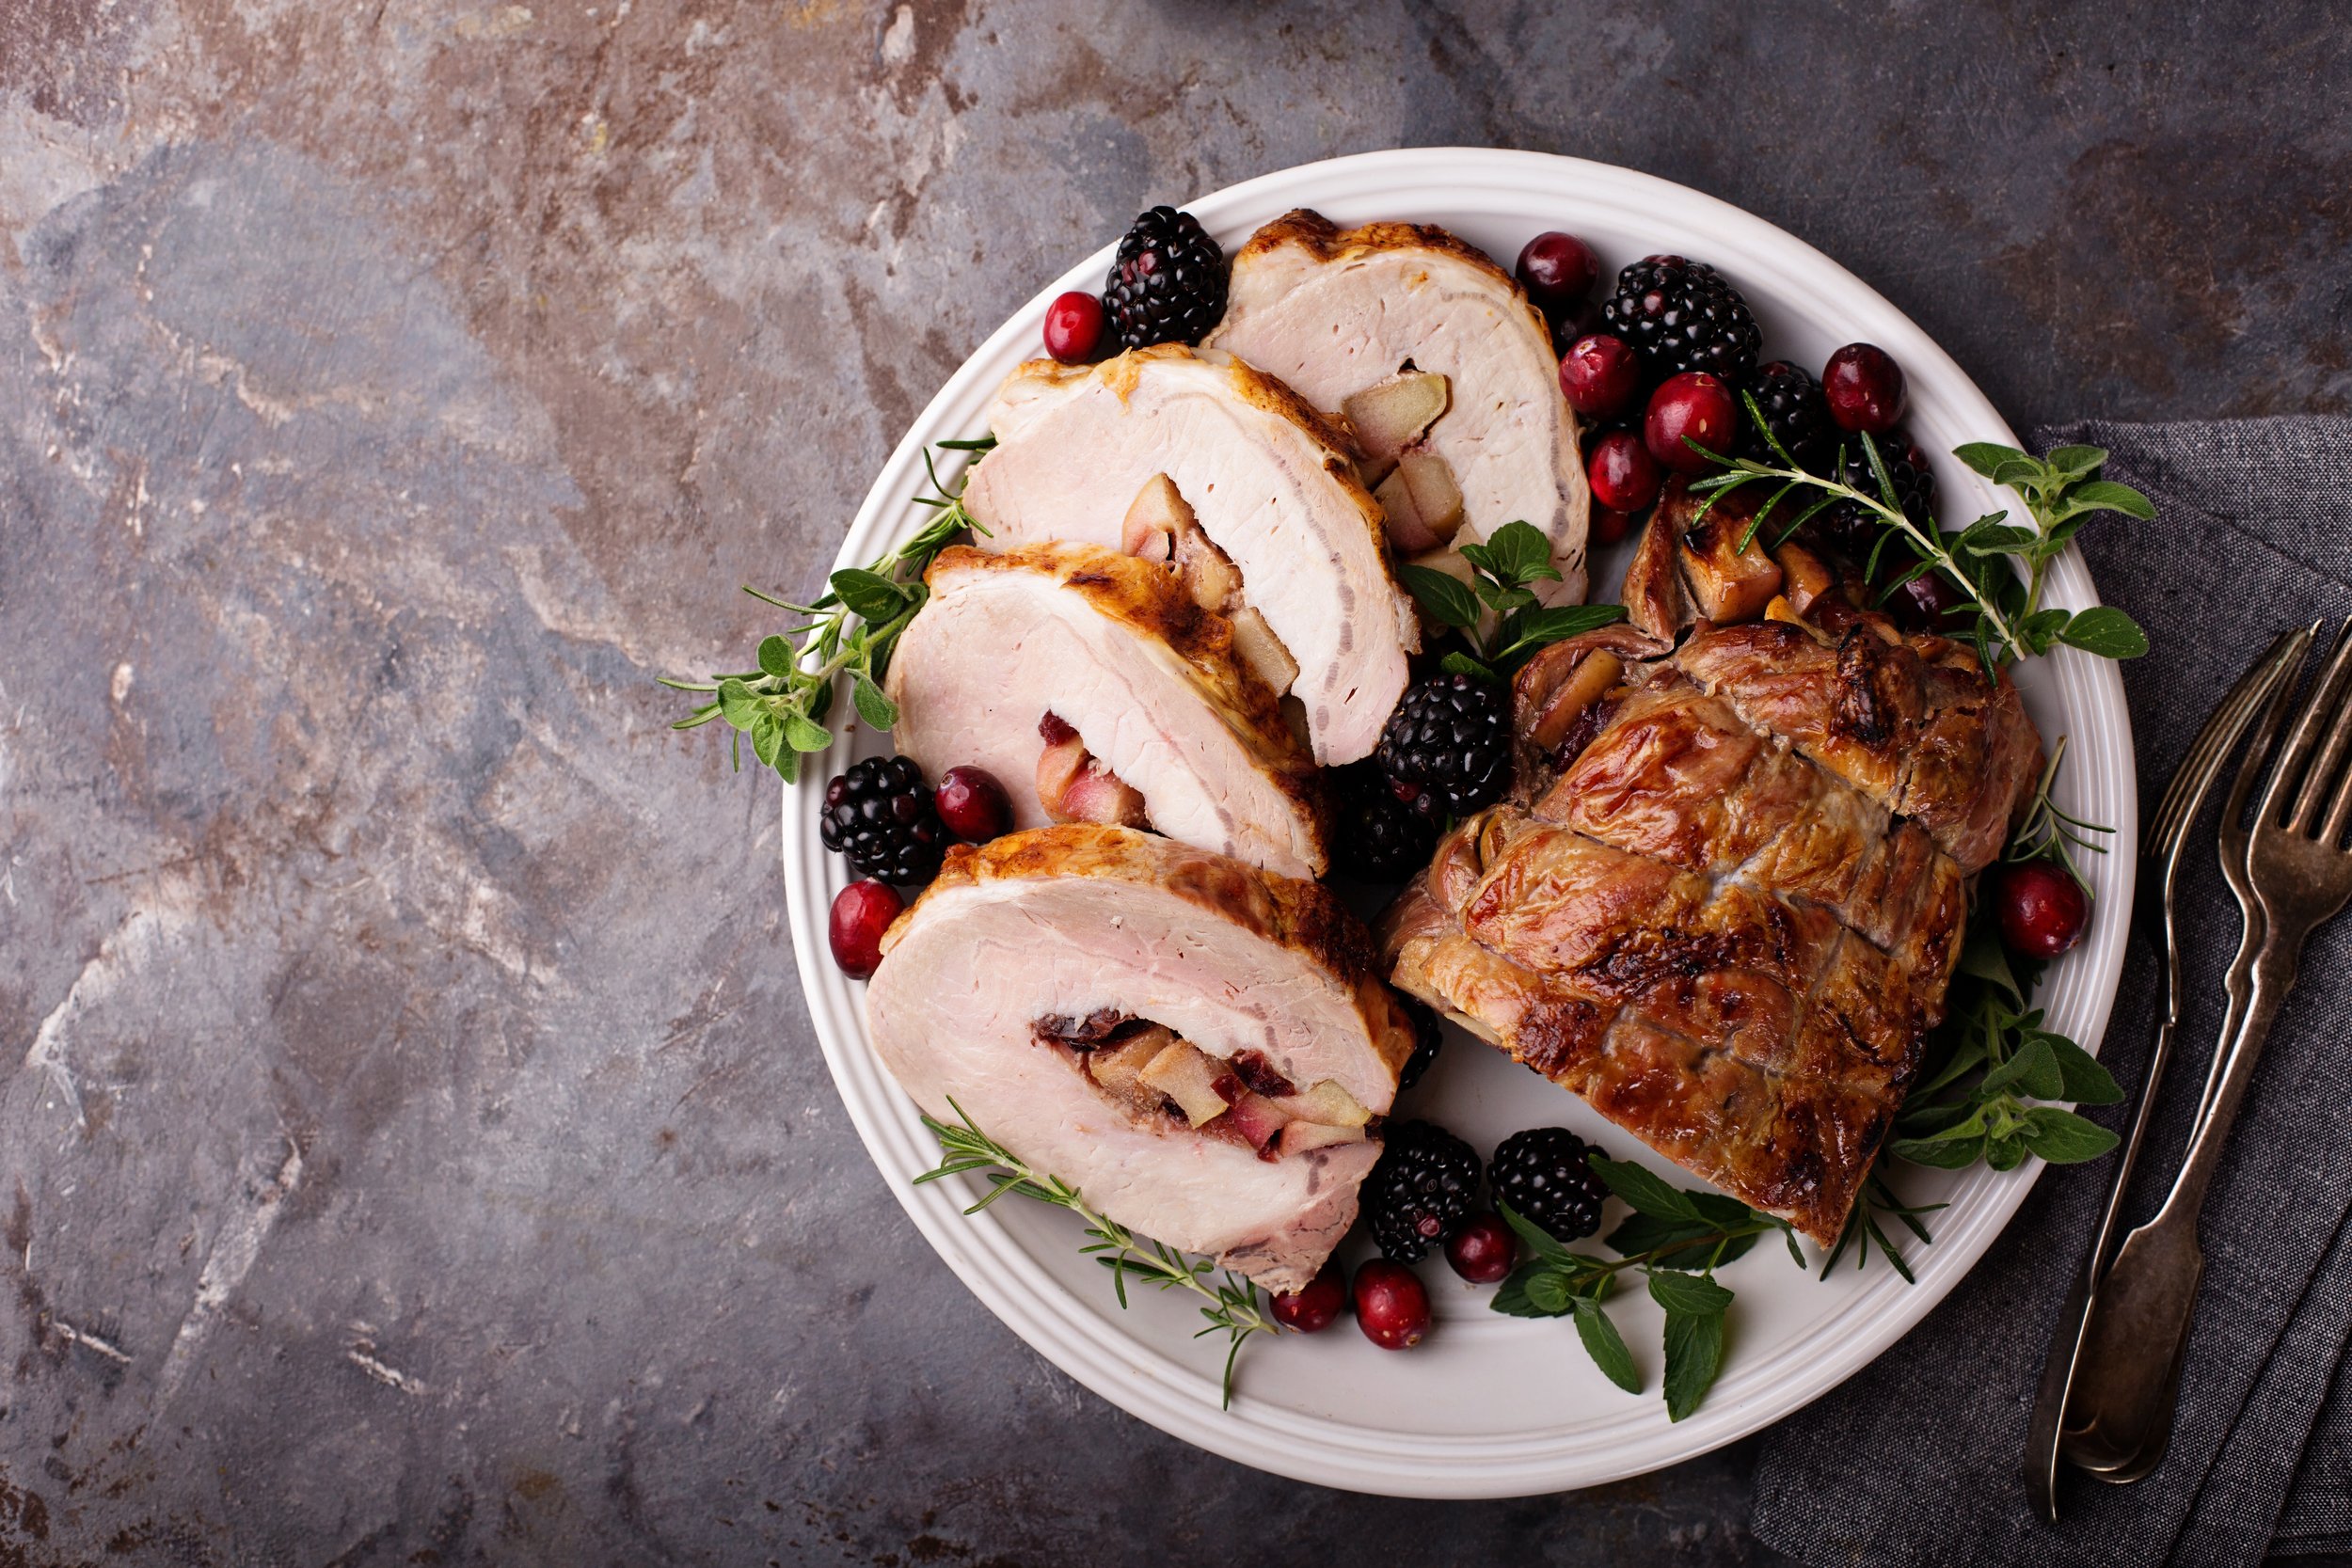
Double Thick Stuffed Pork Chops
Pork screams a Fall Dinner and my fresh crop of harvested figs, I thought you might like this different dish. If figs are not your cup of tea, you can substitute apricots, apples, or even pears. With what looks like a bountiful crop of figs, this is my go-to for now. See if your butcher will French Cut or split the chops for you if you are apprehensive about that part of the recipe. Read instructions for tips on using fresh/dried figs or any fruit of your choice.
Ingredients: Serves 6
6 double thick pork chops (preferably with bone in)
1 cup panko crumbs
6 thin slices of cold, unsalted butter
½ teaspoon salt
¼ teaspoon fresh cracked pepper
24 to 30 fresh or dried figs
3 tablespoons fresh lemon juice
Boiling water to cover dried figs
Splash of vegetable oil
Method:
If you are using fresh figs, cut the stem from the fruit and slice in half through the stem end and toss in the lemon juice and let them marinate for 30 minutes or so. If using dried figs cut the stem and put them whole into a bowl, add the lemon juice to a bowl and then pour boiling water to cover the figs and them hydrate for an hour or so. Once they are supple, cut them in half from the top to the bottom. Take your double thick chops and if not cut, slice through the middle from the meat / fat side into the bone to create a pocket. Take 8 or 10 halves- depending on the size of your chop- and place them into the chops and then add a thin slice of butter into the cavity also. Toothpicks can close the chop to keep the figs intact. Put the panko crumbs, salt and pepper in a bowl and mix well and dredge each chop in the crumbs.
Heat a good sized black iron skillet over medium to medium high heat and add a splash of oil. Remember: Hot Pan/ Cold oil, food won’t stick. Place the chops in the hot oil and brown each side for 3 minutes or so to get a nice brown sear on each side. Transfer to a baking pan, pour pan drippings over the chops and place covered with foil in a preheated 325 degree oven for 45 minutes. When internal temps are close to 145 degrees, remove from oven and let rest for at least 5 minutes to let juices settle into the chops and not cause them to be dry. Serve with my Fig Sauce of drizzle the pan drippings over the chops on the serving platter.
Fig Sauce
As a Certified Pennsylvania Master Gardener, I am also part of a group of fig growers from our ranks. I have two established Chicago Hardy potted fig trees. Potted as I am so inundated with deer that I move them inside the garage every night as I already mentioned for fear the deer will devour them like everything else on my property. The trees have probably close to a hundred figs on them which are basking in this summer sun and heat. For some strange reason, I have gotten two fresh ripe figs already while the rest mature on the branches. I recently got two new shoots from a fellow fig grower and are caring for them now and will have to wait at least two more growing seasons for them to produce figs. Anyhow this year I may produce a small batch of Fig Jam for that early morning bagel if any are left after fresh picking and eating! To go along with our entrée, this is a perfect and easy sauce to serve with that. One can use dried figs if one does not have access to fresh ones that are affordable to purchase. If you use dried figs, I would soak them whole in HOT water for 15 or 20 minutes before you start to hydrate them to the point that they will cook faster. And, the splash of bourbon is optional.

Ingredients:
1 pound of fresh/ dried (now hydrated) figs with stems removed and chopped into ½ inch pieces.
1 tablespoon good Balsamic Vinegar
1 teaspoon Demerara Sugar or you can use light brown sugar
Pinch of Salt
Two or three grinds of fresh black pepper
Splash of bourbon (optional)
½ cup water
Method:
Combine all ingredients in a small saucepan and bring to a boil on high heat with an occasional stir with a wooden spoon. At boiling, reduce the heat to medium and half lid the pot and let simmer for 25 to 30 minutes. Check to make sure that all the liquid does not evaporate, and you start to burn the fig mixture. Let mixture cool a little in the pan so it is manageable. At this point you can do one of two things. Either use a fork and crush any remaining chunks of fig or put the fig mixture in a sieve and using a rubber spatula squeeze the contents through to remove the seeds and make a pureed sauce. I like the textured version better as one sees the figs and the seeds. Serve this on the side as a compliment to the pork chops that have been stuffed with figs also.
Corn Salad
Corn is still somewhat plentiful during the fall and here is a favorite of mine and my daughter used to ask for this often. It pairs well with the entrée and is colorful with the other side dish when served on a plate. Fresh is best, but frozen corn will work as well.
I learned a novel way to microwave corn that eliminates all the “hair” when it is shucking time. Cut through the husk at the bottom of the ear of corn up to the second row of kernels. Microwave each ear for 3 minutes with the husk on. When finished cooking for 3 minutes or so, just squeeze the top of the husk with the silk hanging out and the ear of corn comes out as clean as a whistle. Think of getting the last bit of toothpaste from its tube! Fresh corn needs to be cooked and cooled before trying this recipe. Cook fresh corn and cut from cob.

Ingredients:
40 ounce bag of frozen whole corn kernels or 10 to 12 fresh ears of corn cooked and cut from the cob
½ cup chopped flat leaf Italian parsley
2 teaspoons fresh chopped basil
3 bunches fresh scallions cut into small pieces (12 to 15 scallions)
½ cup olive oil
2 tablespoons fresh lemon juice
2 tablespoons Balsamic Vinegar
Sea salt and fresh ground pepper to taste
Method:
If using frozen corn, simmer on medium heat for 10 minutes and let sit in a colander to drain. Whisk the olive oil, balsamic vinegar, and lemon juice to emulsify. Mix scallions, parsley, and chopped basil in a small bowl and add to the whisked dressing of oil, lemon and vinegar. Pour the dressing over the warm corn and stir to incorporate the flavors. This should be made at least a day ahead to marry the flavors. Taste for some more salt and pepper. Served at room temperature is the best way according to feedback from my diners.
Glazed Brussel Sprouts with Toasted Pecans
Fall is Brussel Sprout season and even those who may dislike the taste of plain sprouts should like this presentation. I look for them to be the size of a ping pong ball and not much bigger when I see them available. They scream fall and winter meals and are high in nutrients, rather low in calories, a good source of Vitamin K, which promotes blood clotting and strong bones, and Vitamin C. They also have fiber that helps maintain body sugar level spikes. They fall into the cruciferous vegetable family which includes Kale, Cabbage and Broccoli. Have I read that cruciferous vegetables are good at lowering your chances of contracting cancer? Here is a dish to use that is healthy and good for your consumption.

Ingredients: Serves 6
¾ cup whole pecans broken into halves.
2 pounds of Brussel Sprouts cut into half through the stem- not through the middle
5 tablespoons unsalted butter
1 tsp vegetable oil
2 to 3 Tbsp. packed brown sugar
Pinch of ground cinnamon
½ tsp. salt
½ tsp freshly ground black pepper
Method:
Start by removing the outer leaves of the sprouts, trim the stems, cut in half lengthwise and rinse with clean water. Place aside for now. In a large dry skillet over medium heat, toast the walnut halves stirring constantly so as not to burn them. You will know when you smell the lovely fragrance and see them lightly brown that they should be removed from the heat and set aside. Let’s say it should take between 7 to 10 minutes on the stove top.
Using the skillet that you used to toast the pecans, add the cold butter and vegetable oil to a warm pan and heat until it gets bubbly. Remember: Hot Pan / Cold Oil Food won’t stick! To the melted butter, now add the Brussel Sprout halves and the salt and stir carefully so as not to cause the sprouts to shed their leaves with rapid stirring. Stir over medium heat for about 15 minutes. Doneness of the sprouts depends on the size of the halves so check before removing from the heat.
When you have determined that the sprouts are still somewhat al dente, add the pecans, pepper and the brown sugar to the pan. Toss lightly to melt the sugar and coat the sprouts and the pecans. Give the final mixture about 2 minutes over medium to lower heat and then transfer to a serving dish of your choice that could be heated to keep the glazing warm.
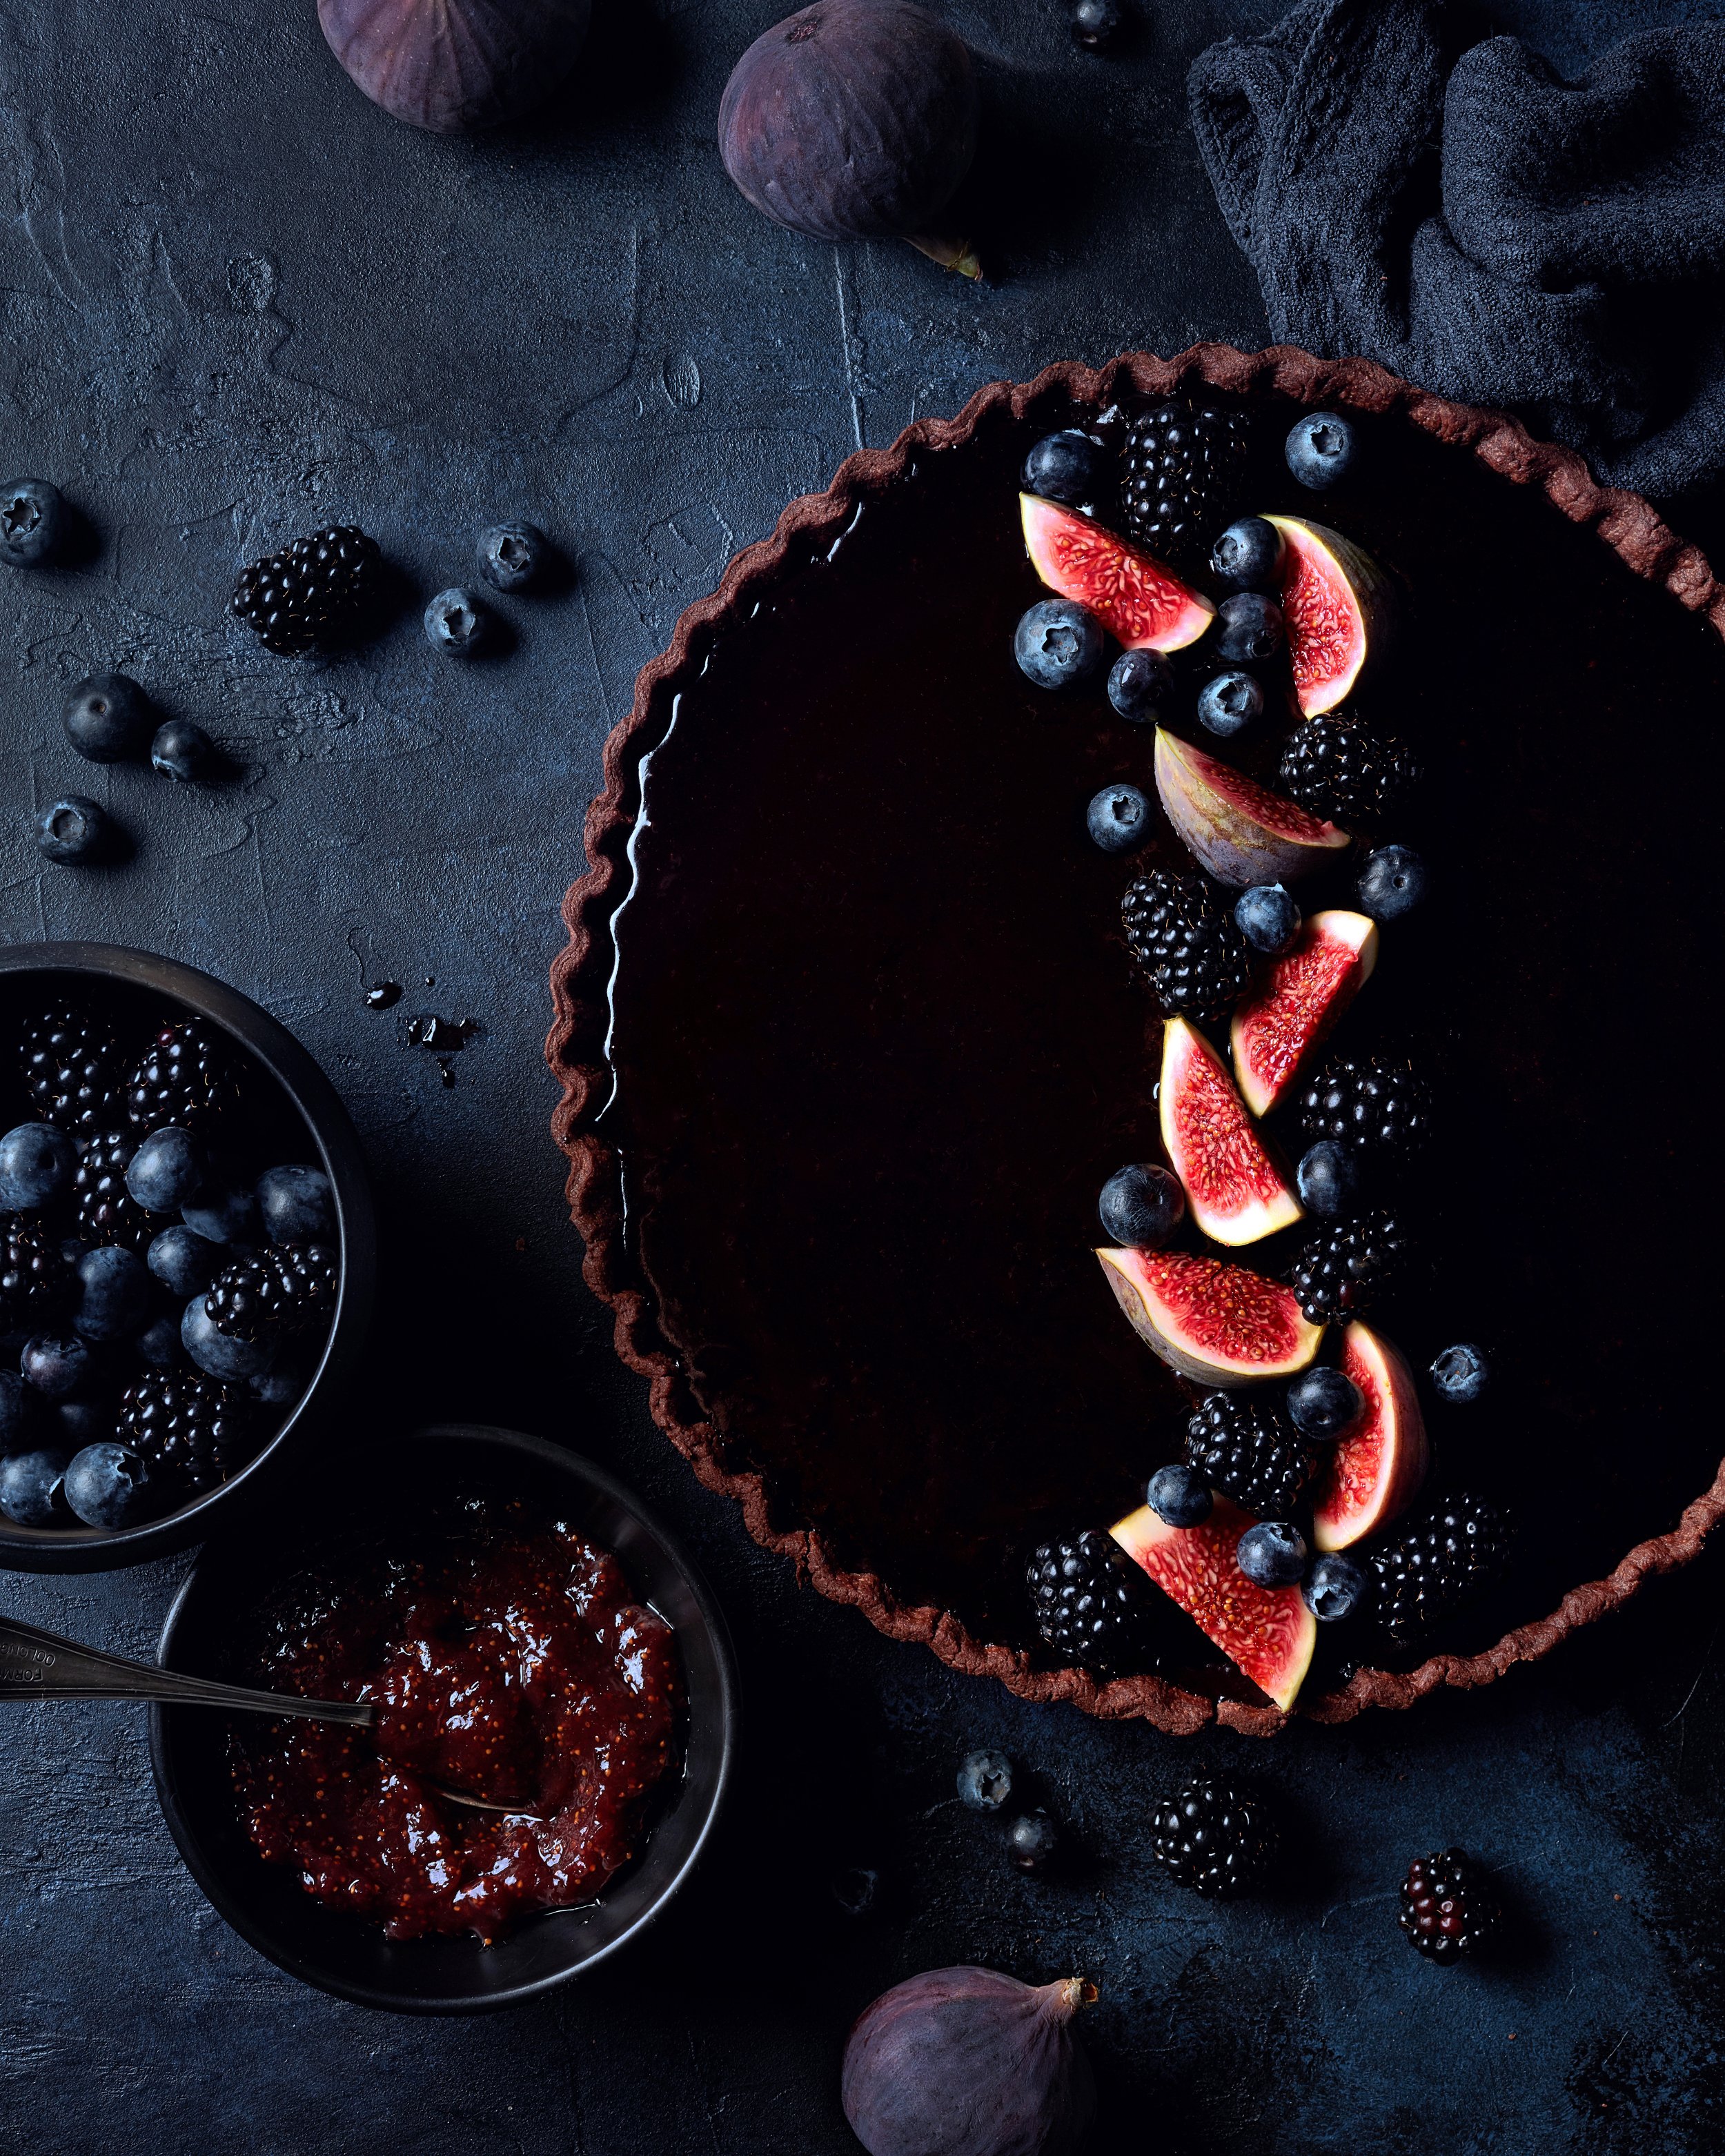
Chocolate Lemon Curd Tart
My favorite part of dinner is dessert. Besides growing figs, I also have a Meyer Lemon tree (see below) that has been in my house and outside in the summer for about 5 or 6 years. I had a crop of 10 lemons so far this year and they were the size of a naval orange. So to the tart shell, I am filling it with a lemon curd recipe that I use when I really want the right taste over a prepared jar of lemon curd which can work here too.
Ingredients: Lemon Curd
2 cups of granulated sugar
2 ½ tablespoons fresh grated lemon zest
1 cup fresh squeezed lemon juice
6 large eggs and 6 egg yolks
1 stick unsalted cold butter cut into small chunks
Pinch of regular salt
Method:
Combine sugar, lemon juice and zest and a pinch of salt well into a medium sized saucepan on the counter.
In a separate bowl, combine the whole eggs and the yolks until well mixed and add to the saucepan mixture of lemon and sugar. Whisk the ingredients until well blended.
Over medium heat, cook the mixture and using a whisk- nor a spoon- stir constantly for 7 or 8 minutes until it coats the whish and has a pudding like texture.
Remove from the heat at this point and whisk in the butter one chunk at a time until well blended. You should have a silky mixture.
At this point you will want to strain the warm mixture through a fine sieve using a soft spatula into a small bowl. Cover the top of the mixture with plastic wrap to prevent air from forming a crust on top and refrigerate for 6 hours or so. This will hold in your refrigerator for 5 or 6 days so it can be made well in advance of the dinner.
Tart Shell
You can use different crackers or cookies to add to your taste. Try my chocolate wafer cookies for a chocolate lemon tart, shortbread cookies for a different taste or the standard graham cracker crust.

Ingredients: Tart Shell
16 chocolate wafer or shortbread cookies
3 tablespoons Demerara Sugar
6 tablespoons unsalted melted butter
Method:
Preheat your oven to 350 degrees.
Pulse the chocolate wafers in a food processor with the sugar until well ground. Through the feed tube slowly add the melted butter a little at a time to the cookie mixture pulsing after each butter addition.
Remove from processor bowl and put into a springform pan and evenly press the mixture up the sides and along the bottom until smooth and evenly distributed.
Place in the preheated oven for 10 to 12 minutes, watching to make sure the top edge does not brown too much. Remove from the oven and let cool completely.
When ready to put this together, fill the cooled tart shell with the lemon curd. You may have some extra curd which can be refrigerated for later enjoyment.
Cover the top of the curd again with the plastic wrap to eliminate a skin on the curd and refrigerate for 4 to 5 hours for it all to set.
At serving time, remove from the springform pan and remove the plastic wrap on top of the curd and transfer to a lovely cake dish and top with whipped crean or some freshly grated lemon zest. ENJOY!
Chester County Day Menu | 2023
Carrot-Parsnip & Ginger Soup
Tenderloin & Roasted Onions
Smushed Potatoes with Bacon Dressing
Vegetable Side Dish
Chocolate & Caramel Tart
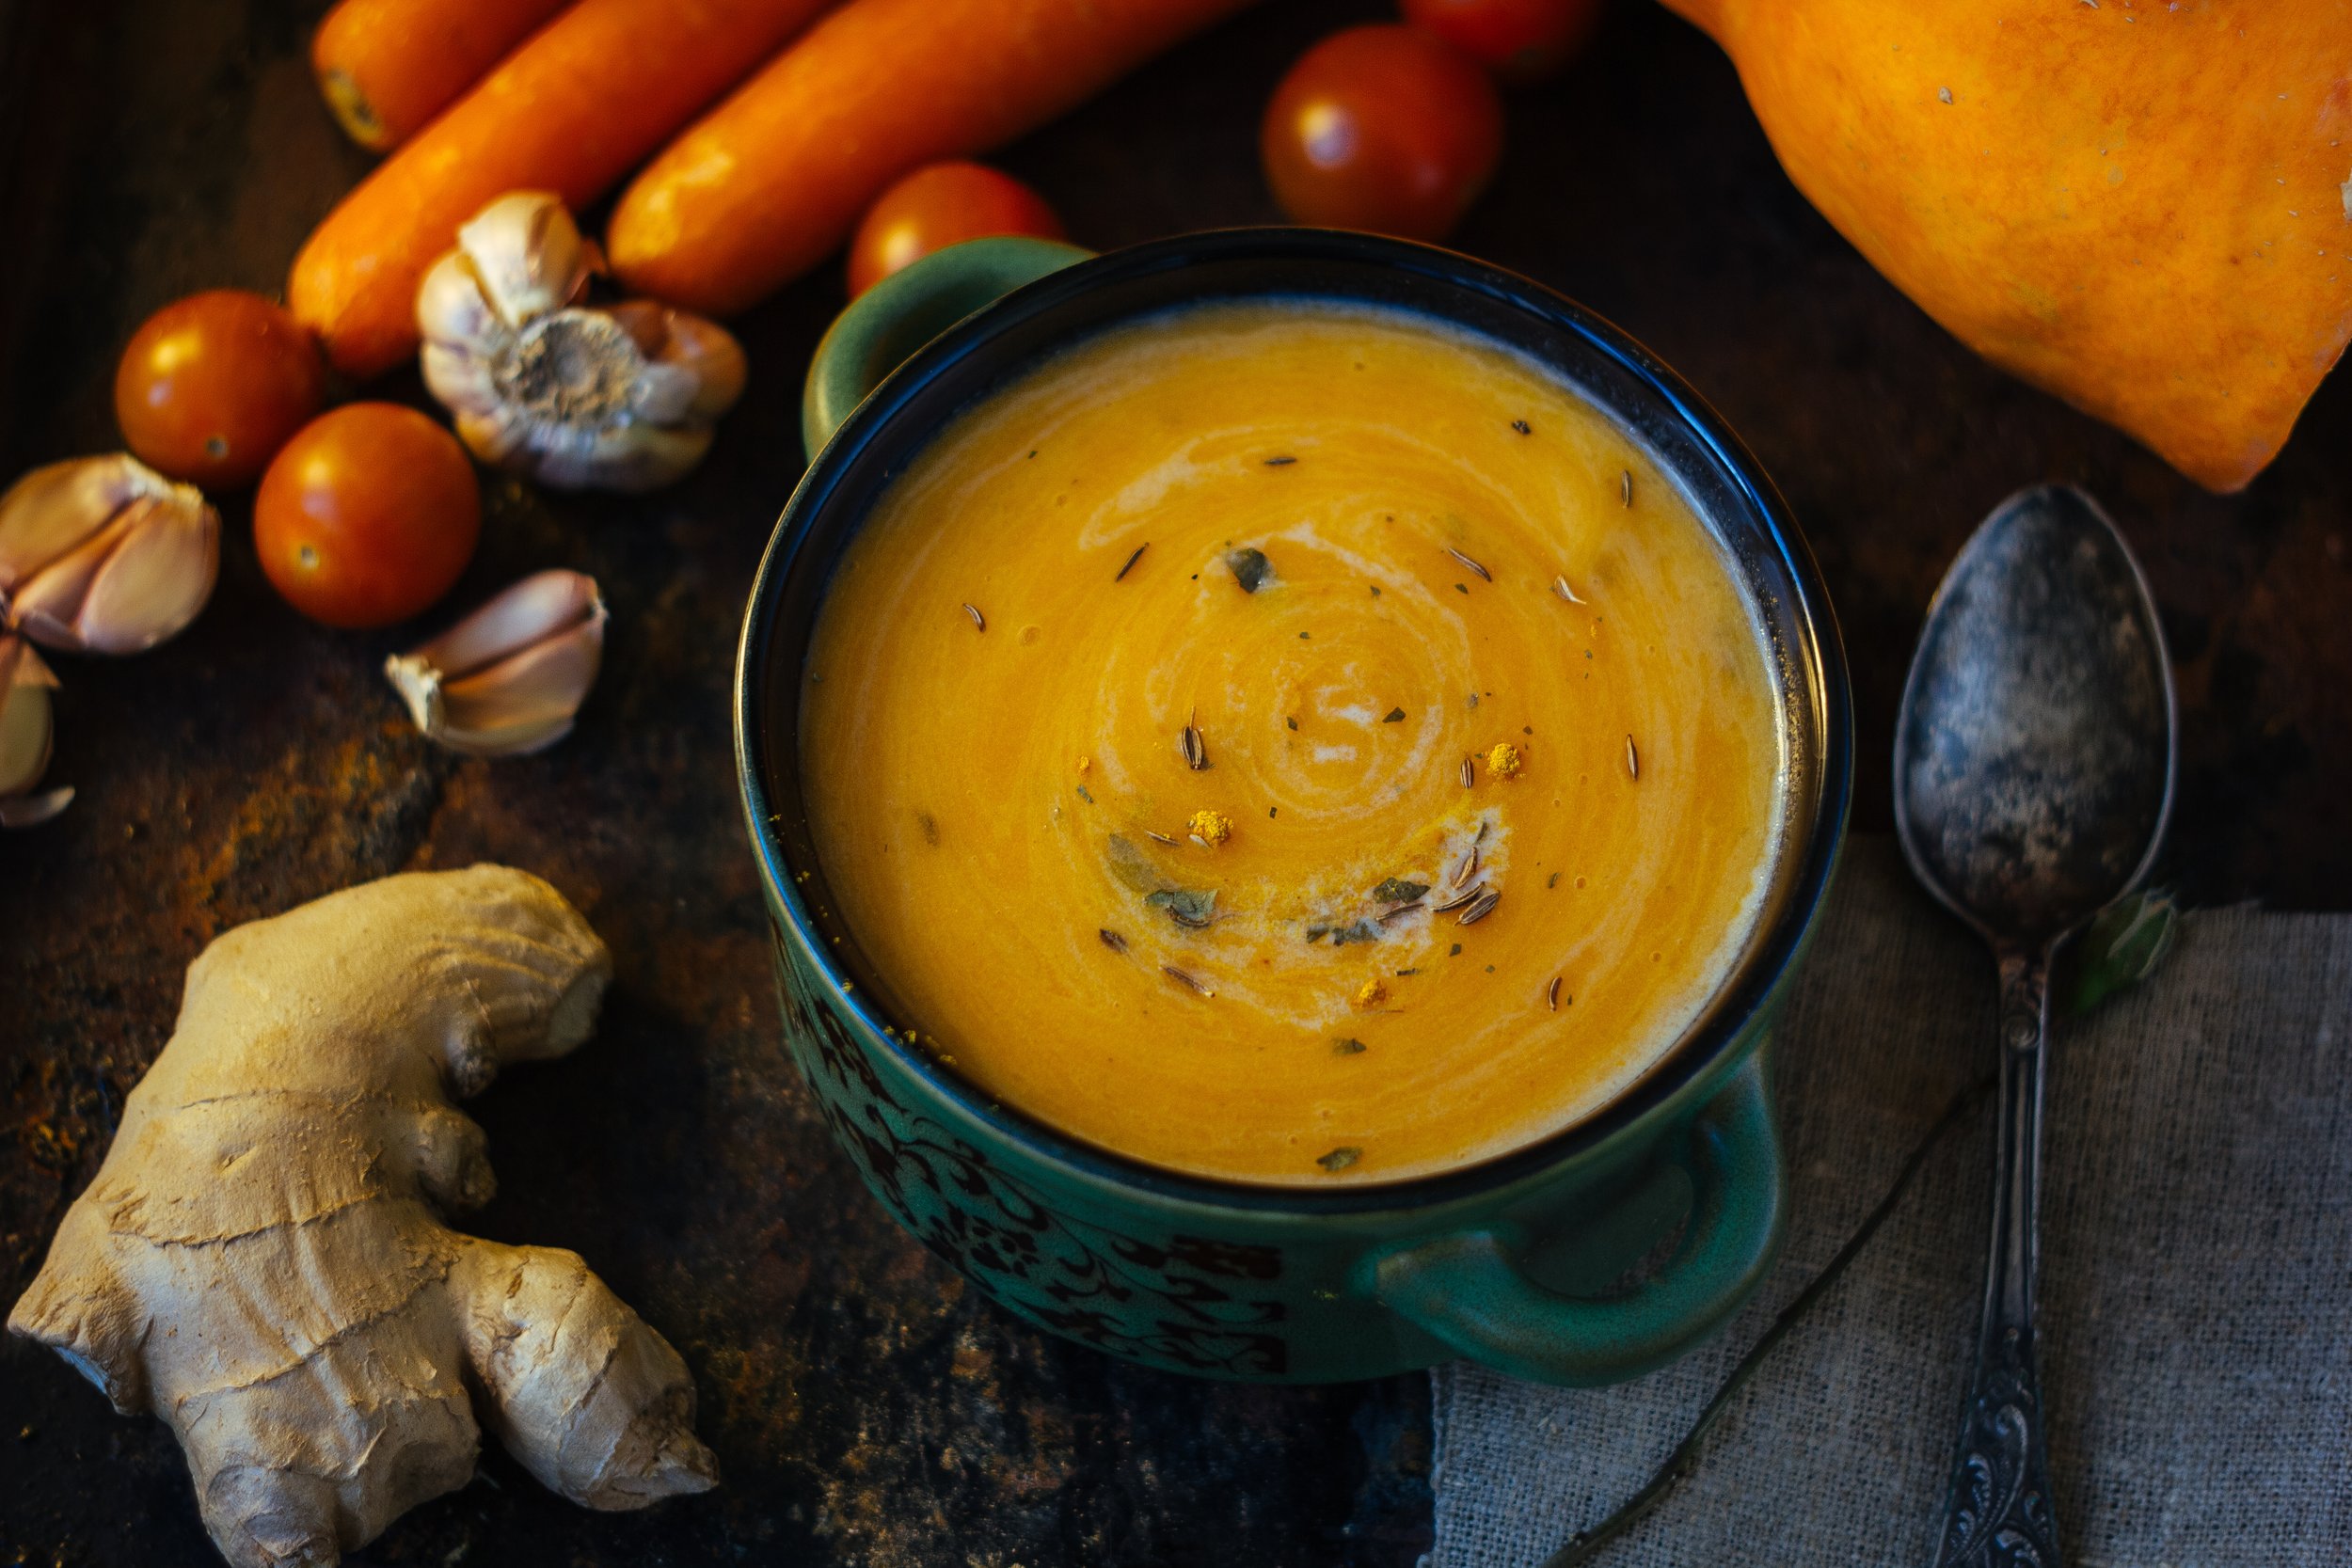
Carrot-Parsnip & Ginger Soup - serves 6 with seconds
Ginger was a highly prized root to add to 18th Century dishes and has medicinal qualities that we are aware of today. Tumeric is also a great addition to one’s diet and cooking. It is reported that ginger and turmeric should be paired when cooking with them as they work in conjunction with each other well. Paring them with the sweetness of carrots and parsnips makes for a lovely creamy soup to serve as a first course. I do not peel either the carrots or the parsnips as I believe that removes a lot of the nutrients and fiber. But do peel the ginger and using a spoon to scrap off the skin is a quick, easy method. The smaller these two root crops are before sliced, the better they are for flavor. After you zest the lemon and orange, spread the chopped peels from the fruit around your greens in the garden to help with white fly infestation!! Also flat, or Italian parsley is for cooking and curly parsley is for garnish and /or flower arranging. I would also suggest that the soup be made a day before to meld the flavors even more.
Ingredients:
¼ cup unsalted butter
2 pounds of scrubbed carrots, sliced
1 pound of scrubbed parsnips, sliced.
2 large, sweet onions chopped.
4 to 5 cups chicken stock or broth
1 cup of light cream or half and half. (Can use fat free)
2 tablespoons fresh, peeled and finely chopped ginger.
1 teaspoon grated fresh lemon peel.
1 teaspoon grated fresh orange peel.
½ cup fresh chopped flat Italian parsley
½ teaspoon ground turmeric
Method:
In a large, heavy soup pot melt the butter over medium heat. When melted, add the carrots, parsnips, and the onions and sauté until the vegetables are softened and the onions become translucent. This should take 15 or 20 minutes depending on how finely you slice your carrots and parsnips.
Stir into the mixture the ginger, the turmeric, and the lemon and orange peel. Add half of the stock/broth, reduce the heat to medium and cover and let the soup simmer for 30 minutes or so to blend the flavors.
At this point use an immersion blender to puree in the pot or use a blender to puree in small batches. Return to the heat and stir in the rest of the stock/ broth and add the cream/ half and half. Taste for salt and pepper. If served immediately, garnish the top of the serving bowls with the parsley or keep chopped parsley fresh in container in refrigerator until ready to serve.
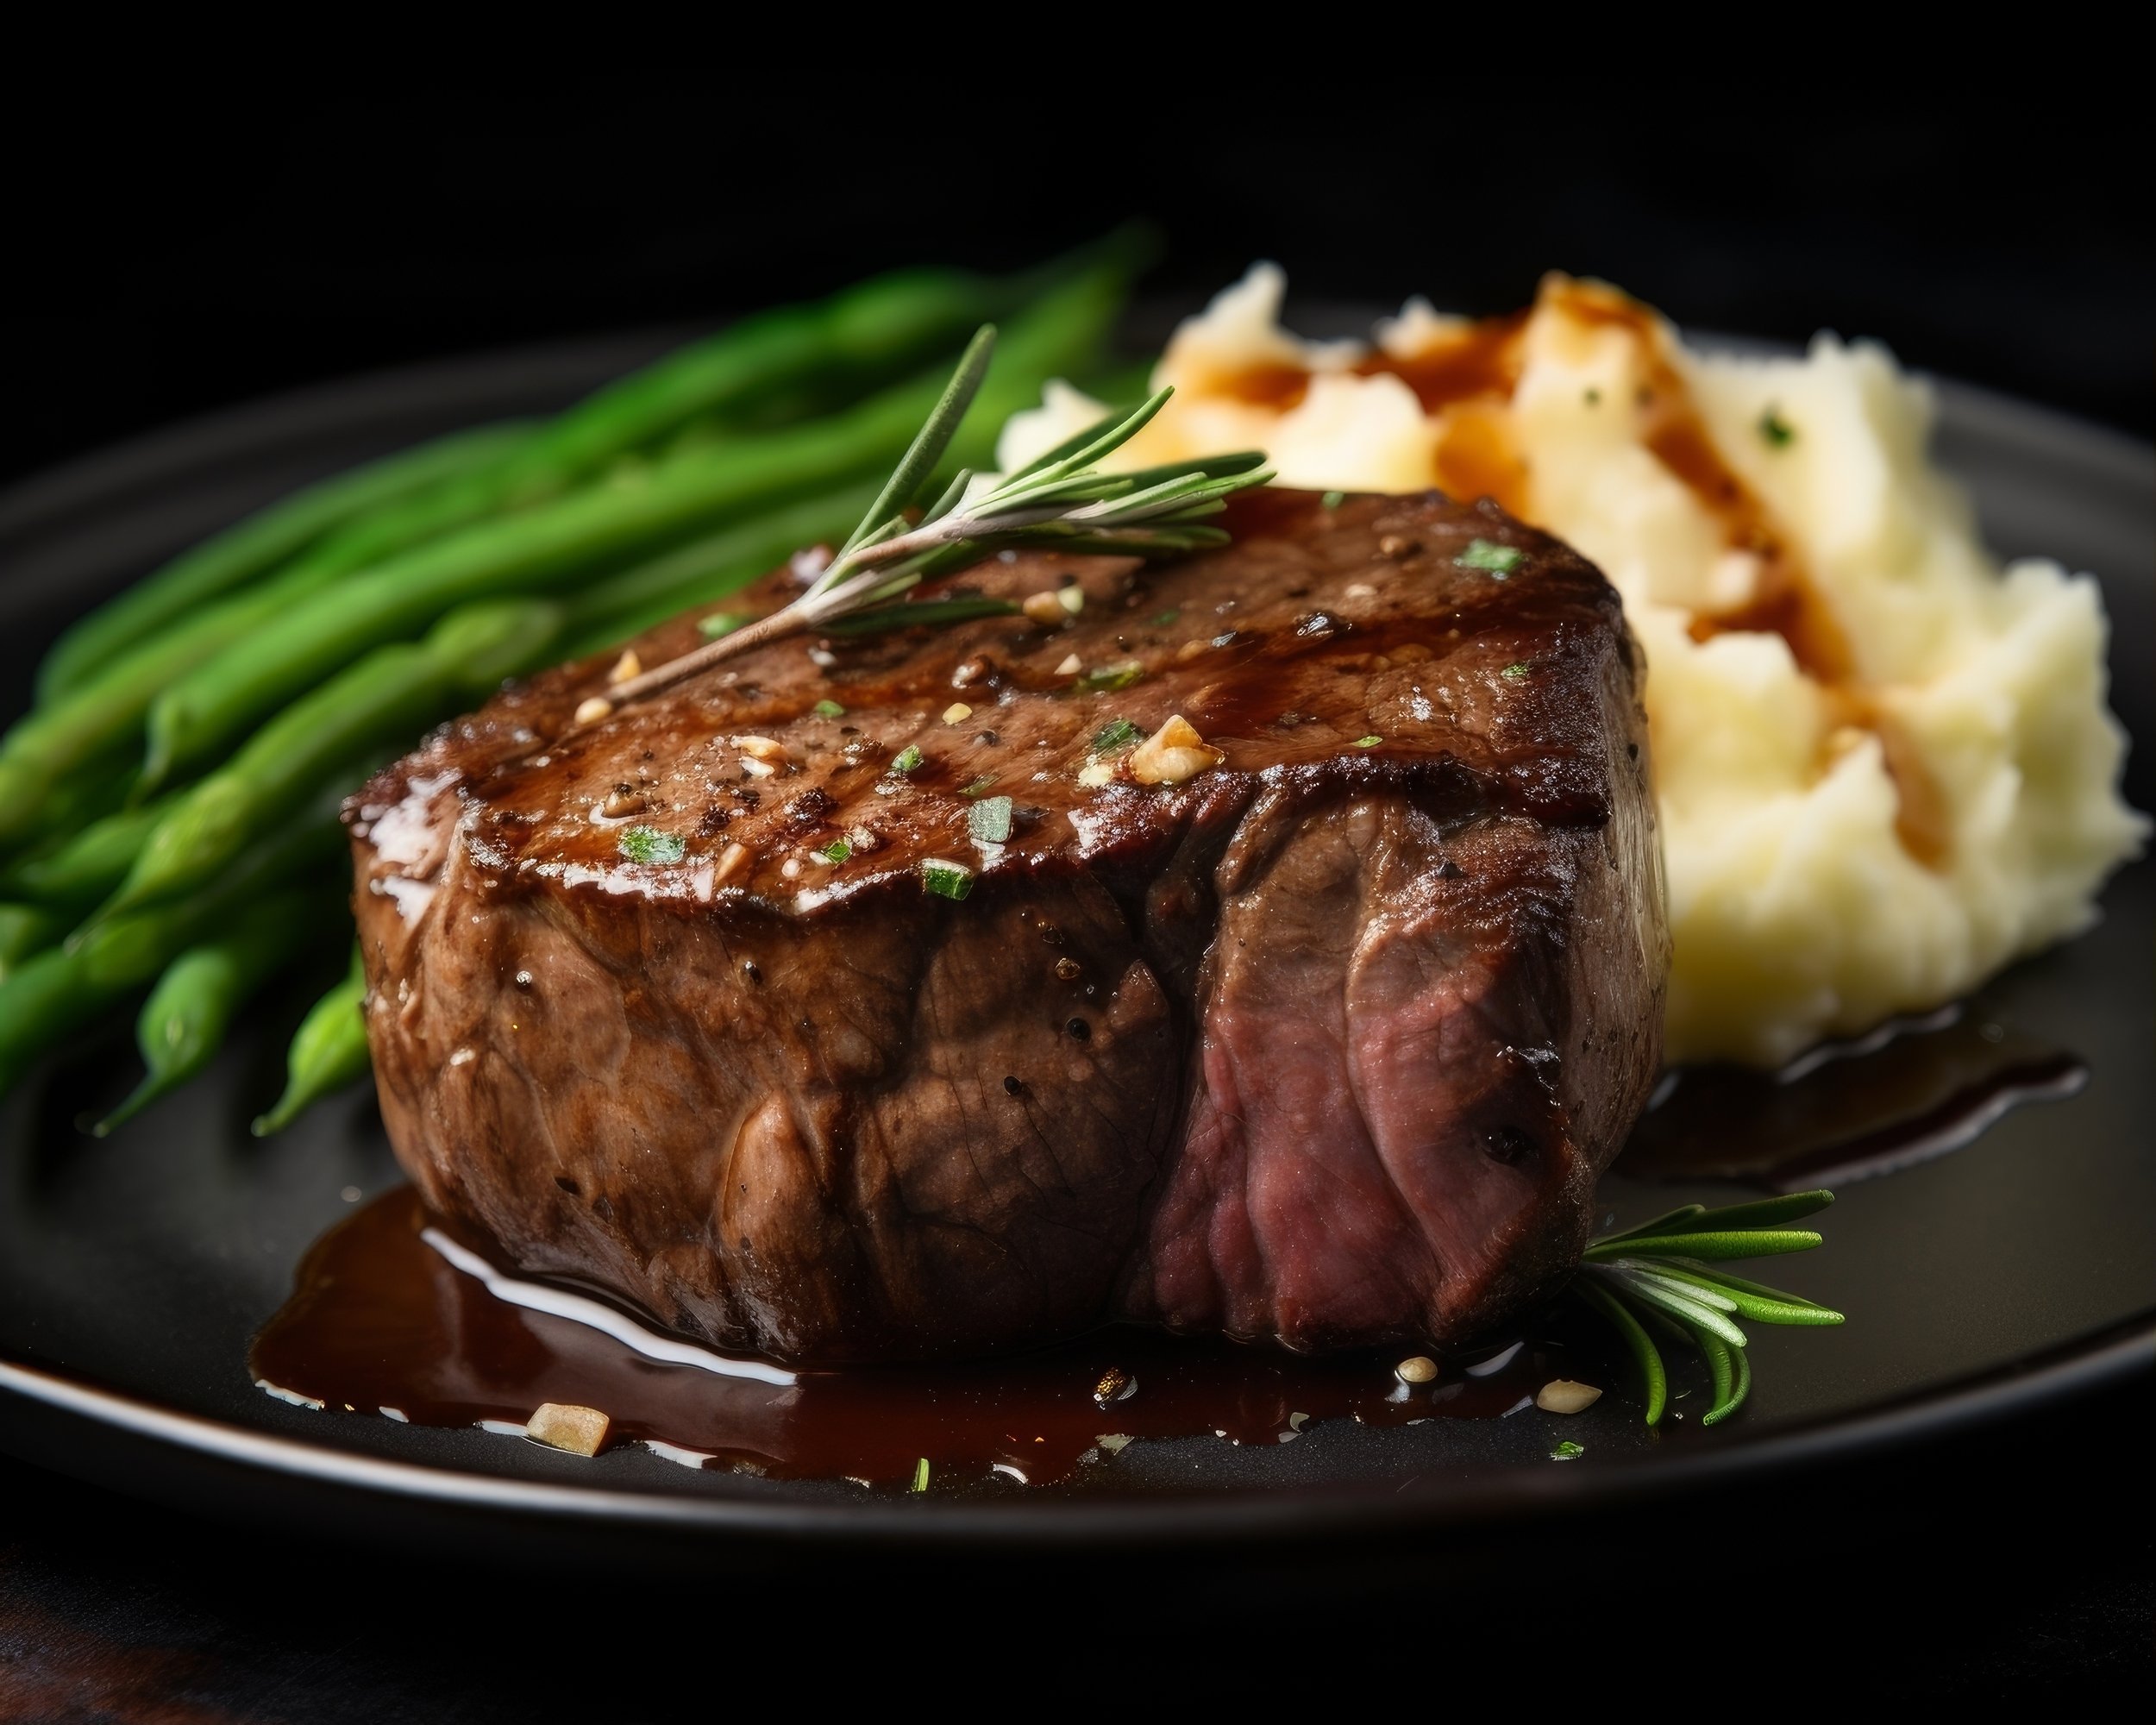
Beef Tenderloin with Roasted Onions - Serves 4 to 6
It has been a while since we featured beef tenderloin, but it would pair well with the potatoes to follow and the root vegetable soup. If you serve it with a salad and possibly some hot bread, your entrée is completely plated and a sight to behold to your guests. Beef tenderloin is the prime cut of beef found within the loin area and is very tender. It is at the very tip of the loin where we get the filet mignon cut. It is also a lean cut so some added butter helps make it melt in one’s mouth and sometimes can be fork cut it is so tender. I am not a fan of garlic on meats, so the delicate flavor of the beef would be better with a mild mustard or mustard/horseradish dressing served on the side for me. For the onions, gather small onions and peel and put into roaster with beef while it is in the oven.

Ingredients:
2 ½ to 3 pound beef tenderloin trimmed of silver fat and tied up with butcher’s twine.
12 SMALL yellow, shallot, red, or sweet onions (figuring two per person) peeled and left whole
Salt and pepper
3 tablespoons extra virgin olive oil
½ stick unsalted butter
1 teaspoon fresh chopped rosemary
Optional: 2 teaspoons minced garlic/ 2 teaspoons chopped horseradish/ 2 tablespoons Dijon mustard
Method:
Preheat oven to 425 degrees.
Have the beef tenderloin at room temperature. Salt and pepper the entire loin.
In a large iron skillet pour the oil onto the hot pan surface and heat to medium high temperature. Remember: Hot pan/ cold oil- food will not stick. Place the tenderloin in the pan and sauté each side for 3 to 5 minutes. You should brown 4 to six sides to make a nice crusty surface on the outside of the whole tenderloin. When this is ready on all exterior surfaces of the beef, remove to a serving platter.
After you remove the beef, put the small onions into the pan drippings and stir in the renderings for 5 minutes or so to give them a little color. Use your butter and any of the options mixed together to rub over the entire crusted exterior of the beef.
Place uncovered back into the large iron skillet with the onions and return to the preheated oven until a meat thermometer inserted into the center of the cut gives you the desired cook you want for the beef-rare (115F to 120F) /medium (120F to 125F) / well done (130F to 135F). This should be ready in 20 to 30 minutes.
Remove from the oven and let rest for at least 15 minutes to let the internal juices redistribute to create a juicy, delicious 1 inch slice. Collect the pan drippings to serve as a drizzle over each slice of served beef.
Smushed Potatoes with Bacon Dressing

Using small, new Yukon Gold or red potatoes makes for a nice presentation as part of the entrée. If you steam the potatoes, they should be fluffier than if they are boiled. While the potatoes are steaming, one can get the dressing ready. And, who does not like bacon?

Ingredients:
3 pounds of small Yukon Gold or small New Red potatoes
½ pound thick sliced bacon cut into small pieces.
3 tablespoons Balsamic Vinegar
1 teaspoon sugar
2 tablespoons chopped flat leaf parsley.
Method:
Place the unpeeled potatoes in a steamer rack or basket over boiling water and cook, covered for 20 to 30 minutes depending on the size of the potato.
While doing that place the bacon in a medium sized fry pan over medium heat and stir and cook until crisp. Transfer the bacon to paper towels to drain off the oil but leave the bacon renderings in the fry pan.
To the pan drippings add the balsamic vinegar, sugar, and salt and pepper and stir. Finally add the bacon back into the pan and give it a stir.
Take the steaming potatoes from the stove and if a fork can pierce them, they are ready. Place potatoes on a cookie sheet and smush each one with the bottom of a juice glass.
Transfer the potatoes to a platter and pour the hot oil/bacon mixture over the tops of the potatoes so they soak up that liquid and serve. Potatoes can be prepped ahead as well as dressing and warmed in a 300 degree oven or microwaved to reheat before serving.
Vegetable Side Dish:

If I were serving this dinner after a festive day of house visiting and garden touring, I think of the soup as a first course and the heavy dessert would be more than enough to accompany the tenderloin with onions and the potatoes. One could add a salad and/or warm fresh bread or maybe sautéed zucchini fresh from the garden or perhaps some fresh green beans that you harvested that morning.
Chocolate & Caramel Tart:
This dessert is good for you as it is prepared with dark chocolate and that makes it heart healthy! Start with making the crust and while that is baking, you can start the caramel and the tart filling.
Crust:
Crust ingredients:
1 cup sifted all purpose flour
1/2 cup unsweetened Dutch process cocoa powder
1/2 cup sugar
Heavy pinch or two of sea salt
6 tablespoons cold unsalted butter, sliced into pats.
1 large egg yolk
5 or 6 teaspoons icy water
Method:
With the crust ingredients, take the flour, cocoa powder, sugar and salt and in a food processor pulse until well combined. Add the cold butter and pulse again until the mixture resembles coarse sand.
Add the egg yolk and 4 or 5 teaspoons of the icy water and pulse again until the mixture is formed into a ball around the processor paddle.
Add the water through the processor tube slowly so there is not too much water incorporated and the mixture becomes too mushy and not sandy.
Press the mixture into a fluted tart pan. Use the bottom of a glass to tamp mixture to keep bottom and sides at equal levels. Refrigerate form 45 minutes to an hour to keep butter cold.
Preheat the oven to 350 degrees.
Remove the crust from the refrigerator and line the inside of the crust with parchment paper and pie weights or dried beans and bake until the crust looks dry - probably 15 minutes. At that point, remove the weights and parchment paper and put back into the oven for another five minutes. Remove from the oven and let cool on a rack so air circulates around it.
Turn oven down to 325 degrees.
Chocolate Caramel Filling:

Chocolate Caramel Filling Ingredients:
1 cup sugar
6 tablespoons cold water
1 cup heavy whipping cream
1 teaspoon pure vanilla
¾ teaspoon sea salt
½ pound of dark chocolate morsels or chopped bar chocolate
1 stick of unsalted butter sliced into pats.
1 whole egg
5 large egg yolks
Method:
Combine the sugar and water in a medium sized heavy metal saucepan on medium high heat. With a cover on, let the mixture come to a boil. Cook covered for 5 minutes or so until the sugar is completely dissolved in the water. Remove the lid and stir constantly, cook until the sugar/ water mixture turns an amber color and turns to caramel- maybe 3 to 5 minutes. If you smear a line of vegetable oil around the lip of the pan it will help keep the contents from boiling over onto the stovetop.
Remove the caramel from the heat at this point and add the cream whisking until the caramel stops bubbling. Add the vanilla and sea salt and stir until well incorporated and let come to room temperature.
Combine the chocolate and the butter in a glass bowl and either place over boiling water and melt them together or microwave in 15 second intervals to melt together. Let this sit on the counter to get to room temperature.
Check the oven temperature to assure it is down to 325 degrees. Whisk the 5 egg yolks and the 1 whole egg in a large bowl until light and frothy. SLOWLY whisk in the caramel and incorporate well before adding the melted chocolate mixture. Incorporate that in well also.
Place the prepared tart shell in its tart pan on a baking sheet and now pour the chocolate filling mixture into the tart shell. Carefully transfer to your oven and bake for 25 to 30 minutes. The edges should be firm, and the center should be a tad jiggly at which point you know it is time to remove tart from the oven.
Let come to room temperature on a cooling rack on the counter and then place it in the refrigerator for several hours to firm and chill. You can sprinkle a few more grains of sea salt on top before serving.
To Serve:
Maybe a scoop of vanilla ice cream, a dollop of whipped cream, fresh berries or a drizzle of melted dark chocolate chips with a sprig of freshly picked mint from your garden could be the final added touch to this grand dessert.
This is not a dinner at the White House, nor it is a repast shared with a POTUS, but it is another simple and delicious dinner to serve to your fellow Chester County Day tour goers. Good Day, good friends, great travels to the Chester County countryside, lovely old and interesting homes and properties. Our tour may not be as old and as historic as our nations capitol city, but we have kept up the longest running house tour and the traditions have lasted for 82 tours and may they continue to come for many more years as we pledge our efforts to The Chester County Hospital.
Chester County Day Menu | 2022
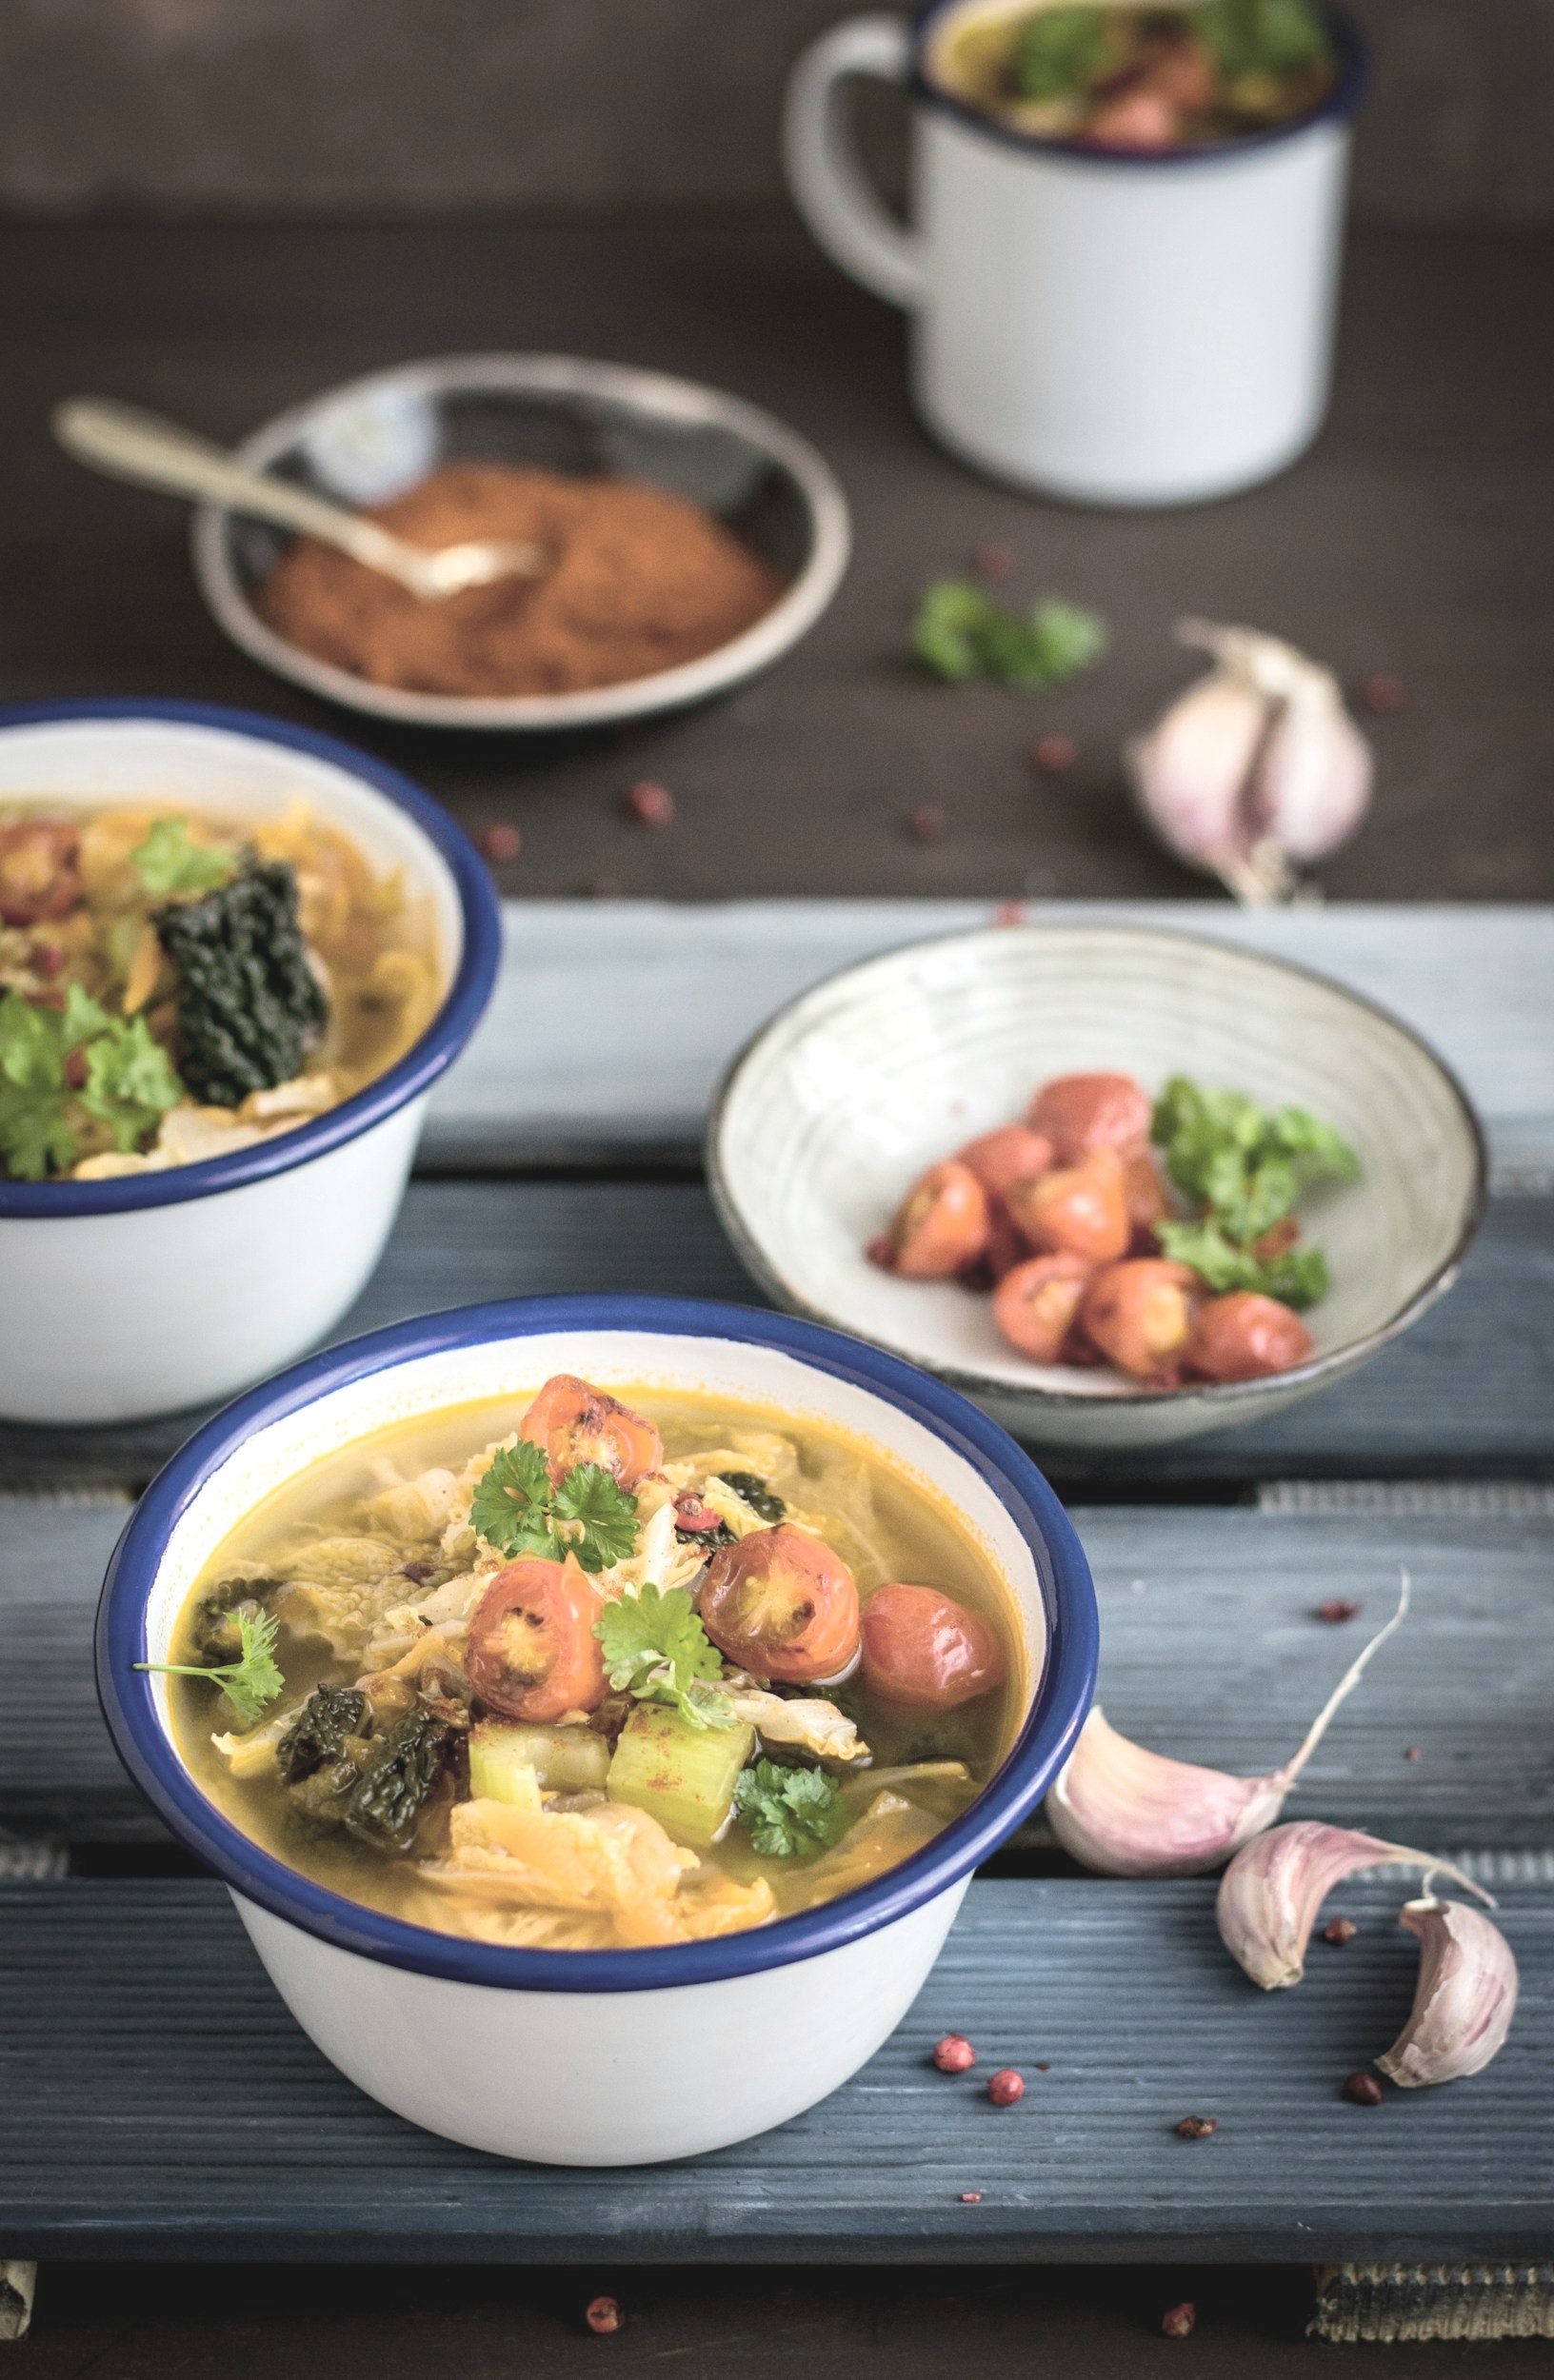
Here is a good one dish soup that accompanied with a “hunk” of fresh hot bread, or a warm roll, would make a chilly fall evening meal a treat. I worked this as a vegetarian opener, but one could easily add chicken or turkey to the recipe and satisfy all realms of food intake. If you buy a store roasted chicken or turkey breast, the leftovers could be added to make a meat version. Ditalini can be used for a more filling dish or use pastina for a lighter version. If you want a thick soup, cook the pasta in the broth and use that for your one quart of stock removing the pasta with a sieve. If you do this method, add pasta at the last minute or two of cooking as it needs to only heat up in the soup.
Since this is a rather heavy course, I have skipped a salad this year. If that is a must on your menu, then plan on something to incorporate some blue cheese with pears and walnuts or apples and Smoked Gouda with chopped pecans on a bed of chopped endive or spring greens with a light dressing. If you do the pasta, then maybe a green salad is all you would need to add to the entrée.
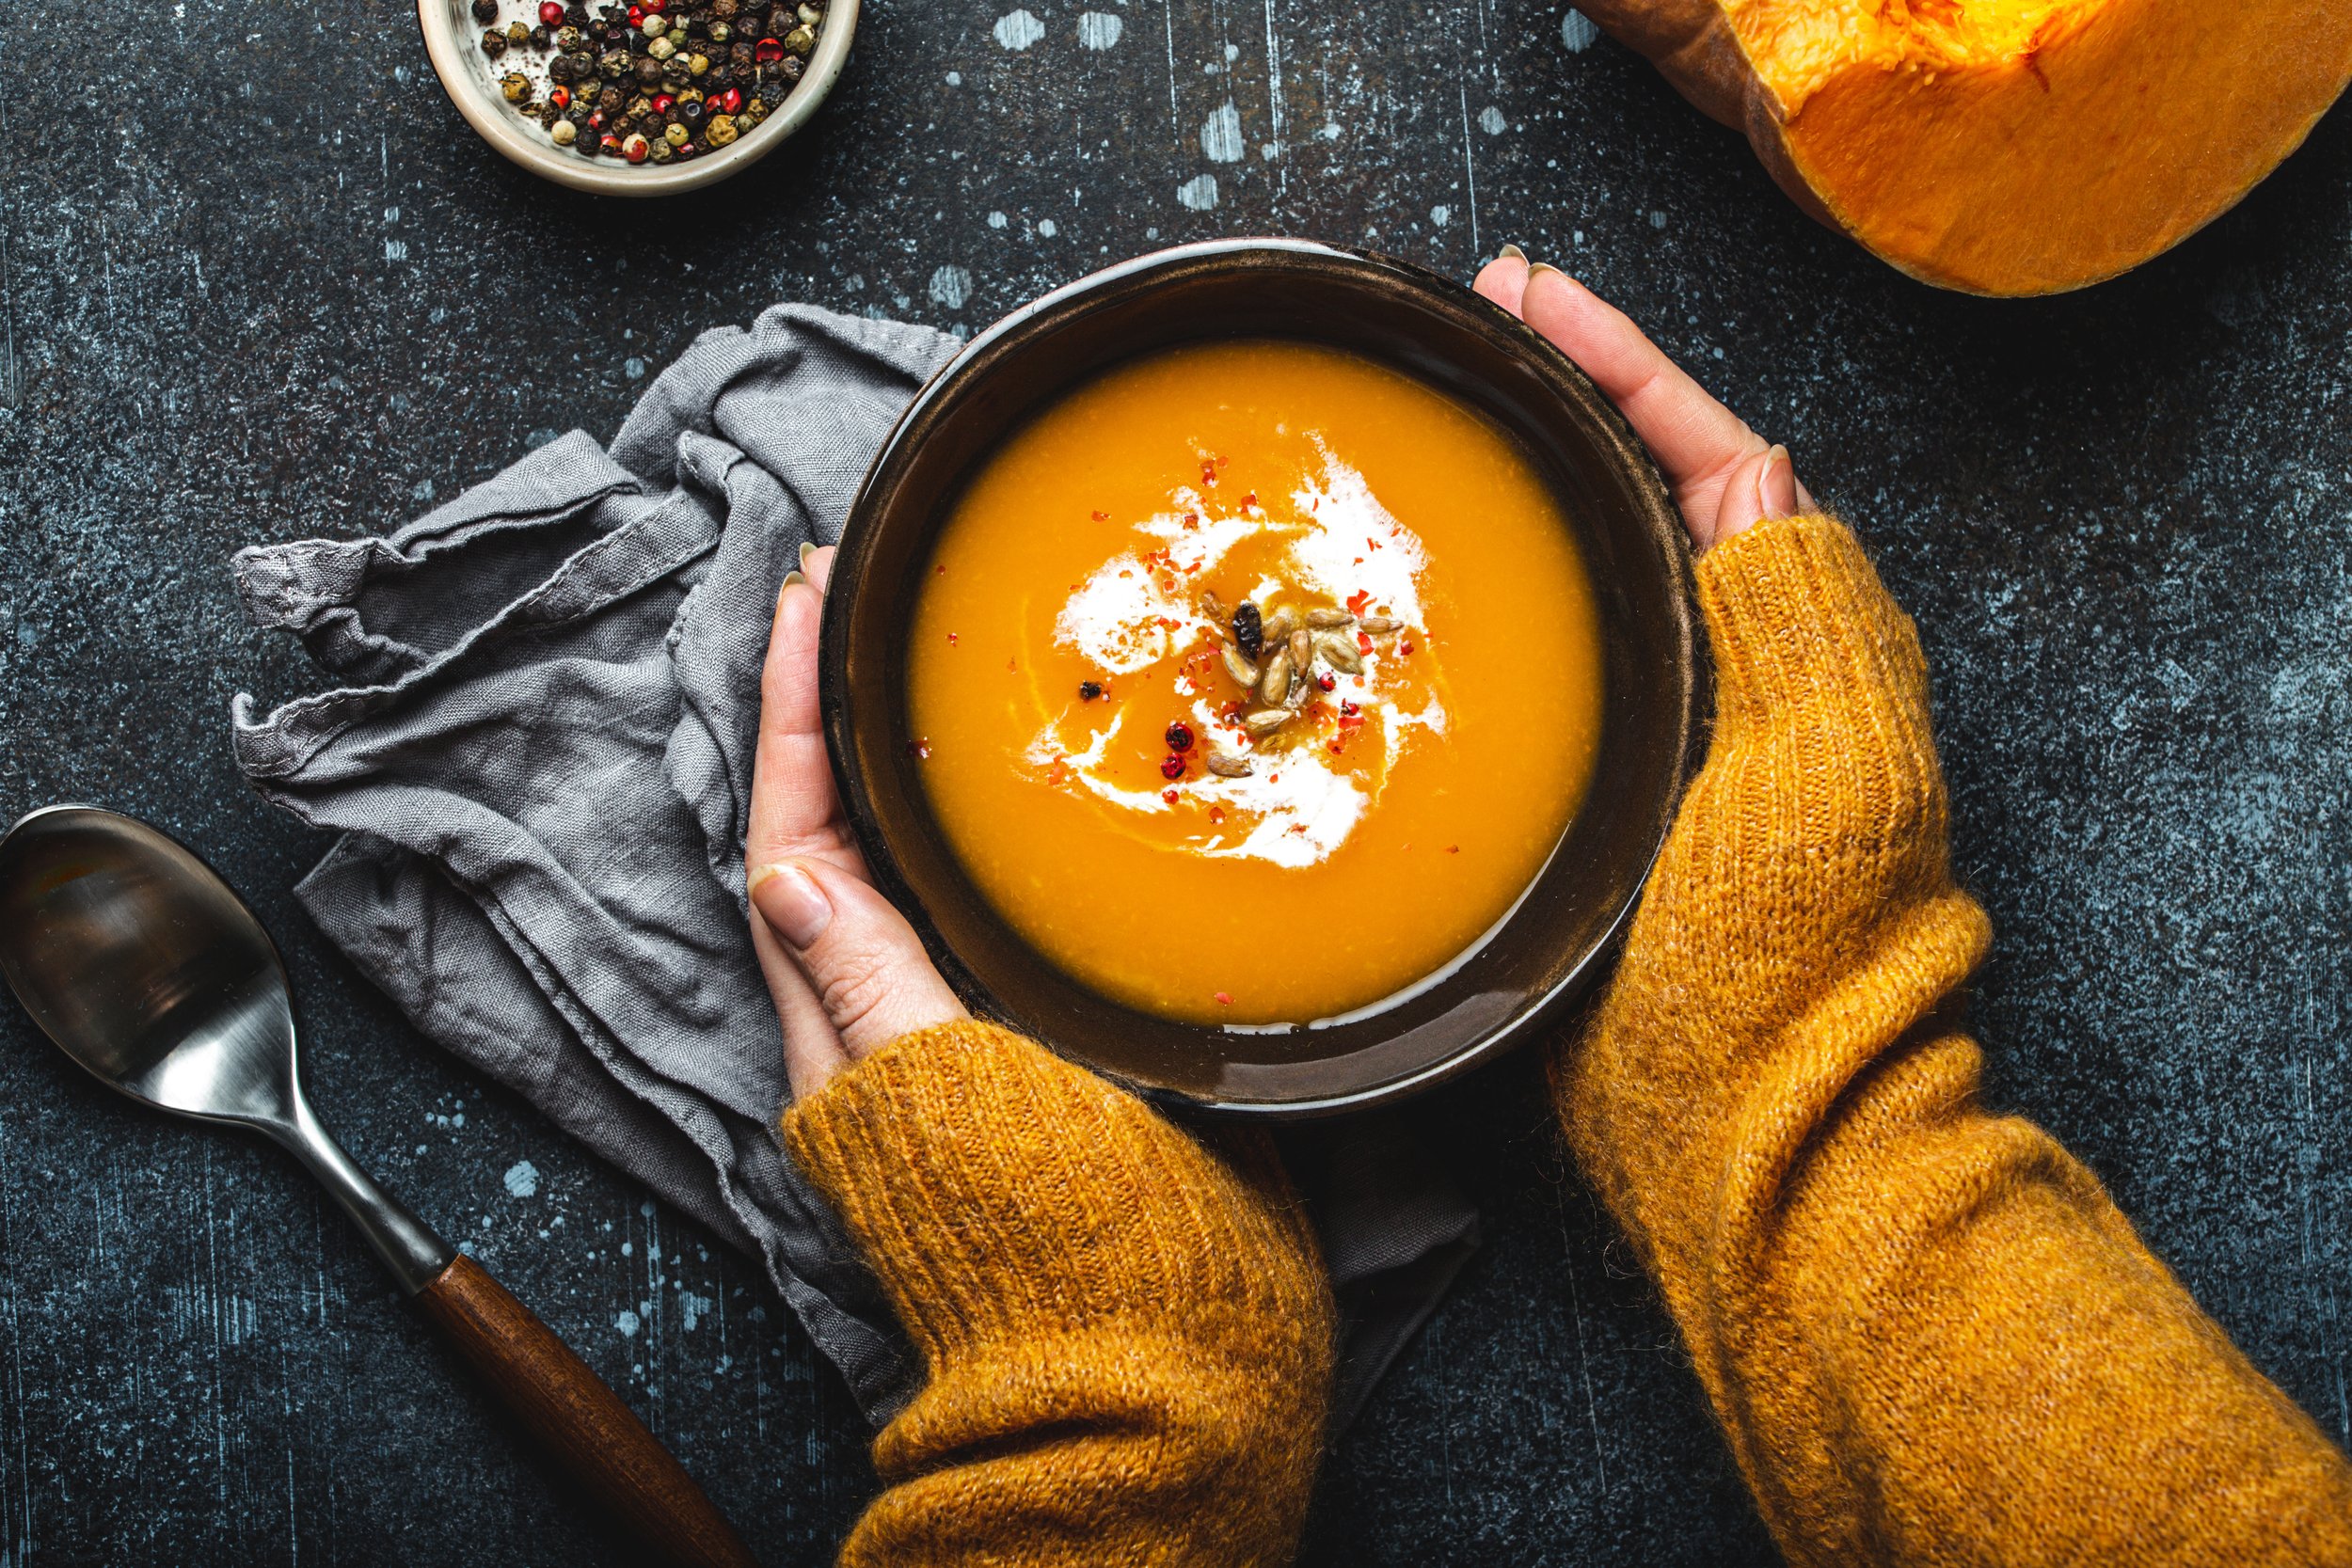
Fall Pumpkin Soup
2 to 3 tablespoons extra virgin olive oil
¾ cup dry pasta cooked al dente as suggested above
1 bunch of green onions chopped- white and greens
1 teaspoon toasted coriander seeds
Pinch of garlic powder – not garlic salt
1 teaspoon cinnamon
½ teaspoon sea or kosher salt
½ teaspoon freshly ground black pepper
1 quart unsalted or no salt added chicken or vegetable stock.
2 cans (16 ounce) cans of drained and rinsed black beans
1 can pumpkin puree- not pumpkin pie mixture!
Chop up left over store roasted chicken or turkey to add if you want.
In a large soup pot over medium high heat, add olive oil and heat until it shines. Add the green onions and cook until wilted, stirring occasionally. Then add cinnamon, coriander, garlic powder, salt and pepper. Stir to coat with the hot oil and toast mixture until it become fragrant, a few minutes.
Add your vegetable or chicken stock and bring the pot’s contents to a boil. Add the black beans and the pumpkin puree and incorporate well and lower heat to a simmer and cover. Add your pasta choice. Check cook time as to pasta. Ditalini will be twice the time of pastina in cooking. I would guess 10 to 15 minutes to simmer. Add your precooked poultry if you are going to include this in the dish. Pull from heat and let sit for a few minutes and then adjust salt and pepper if needed to taste.
Many years ago I included a recipe for an Onion Soup comprised of seven different types of onions and many people commented on what a great soup it was. I have used that as a stimulus for a pasta sauce for a main dish of pasta for this year’s main entree. This time around though, it is five types of onions. This is a first for the menu as there is no meat—one could add some bacon into the sauce which I will get to in the procedures. You can make your own pasta from scratch, use frozen / fresh pasta, or use boxed, dry pasta. I would suggest Rigatoni if you use boxed and or dried pasta, Cavatelli if you are buying it fresh or frozen, and if you make your own, then definitely go with homemade gnocchi.

Pasta with Onion Medley Sauce
1-pound yellow onions chopped
1-pound red onions chopped
1 cup chopped shallots
2 bunches of fresh scallions -white and green chopped
½ pound of carefully washed and thinly sliced leeks
½ cup unsalted butter
1 ½ cups Italian seasoned breadcrumbs
Salt and pepper
1 cup grated and dried Italian cheese of your choice (Romano/Pecorino/Asiago)
2 pounds of pasta
½ pound thick sliced bacon cut into small pieces (optional)
Start with a large heavy iron skillet and go one of two ways on medium high heat. If you want the bacon, then add just the bacon to the hot pan and start to cook it stirring the pieces so as not to burn it. If you are not using the bacon, then add the butter to the pan and melt. If you use the bacon, cook thoroughly, and drain pieces on a paper towel. Leave the renderings in the pan. Now you have melted butter or bacon renderings in the hot pan into which you will add the white and red chopped onions. Stir and cook until just wilted which should be about 15 minutes. At that point, add the shallots and sliced leeks and do the same thing stirring to wilt but not heavily brown. This step should be 10 minutes. When that mixture starts to caramelize, finally add in the scallions and stir until well mixed. This whole process should take about 25 to 30 minutes on medium high heat. You want to caramelize the onions not cook them until they get brown and dark in spots. If you did use the bacon and there appears to be an ample amount of bacon rendering still not absorbed by the onions, drain some of that off too. If you did not use the bacon and the onions have absorbed most of the butter, then add another tablespoon or two of butter to the warm pan.
Begin to cook the pasta until al dente.
As the pasta is finishing, add some salt and pepper and a healthy pinch of seasoned Italian Herbs to the seasoned breadcrumbs.
Drain the pasta and put into a large sized serving bowl. (Do not rinse your pasta if you are going to use all of it right away. If you do not use all of it in the dish, then rinse so it can be used for another meal). Add the onion mixture to the hot pasta and then sprinkle the breadcrumb mixture in with that and final top with the grated cheese. Stir to incorporate all and serve.
Should serve 8 -after that heavy soup first course.
That should bring us to dessert. I think I would rather have dessert then a soup or salad at this point of my life!! I am giving you a choice this year of two, no-bake courses!! And, of course one of them is chocolate. I picked a fresh lemon from my tree to make the lemon one and there is always chocolate in the pantry!
I first found Nutella on a trip to Germany and keep that in the pantry also as it is special on a warm, toasted bagel at breakfast! Add to that the coffee flavoring and we have a hit. Use a glass or metal 8- or 9-inch pie plate.
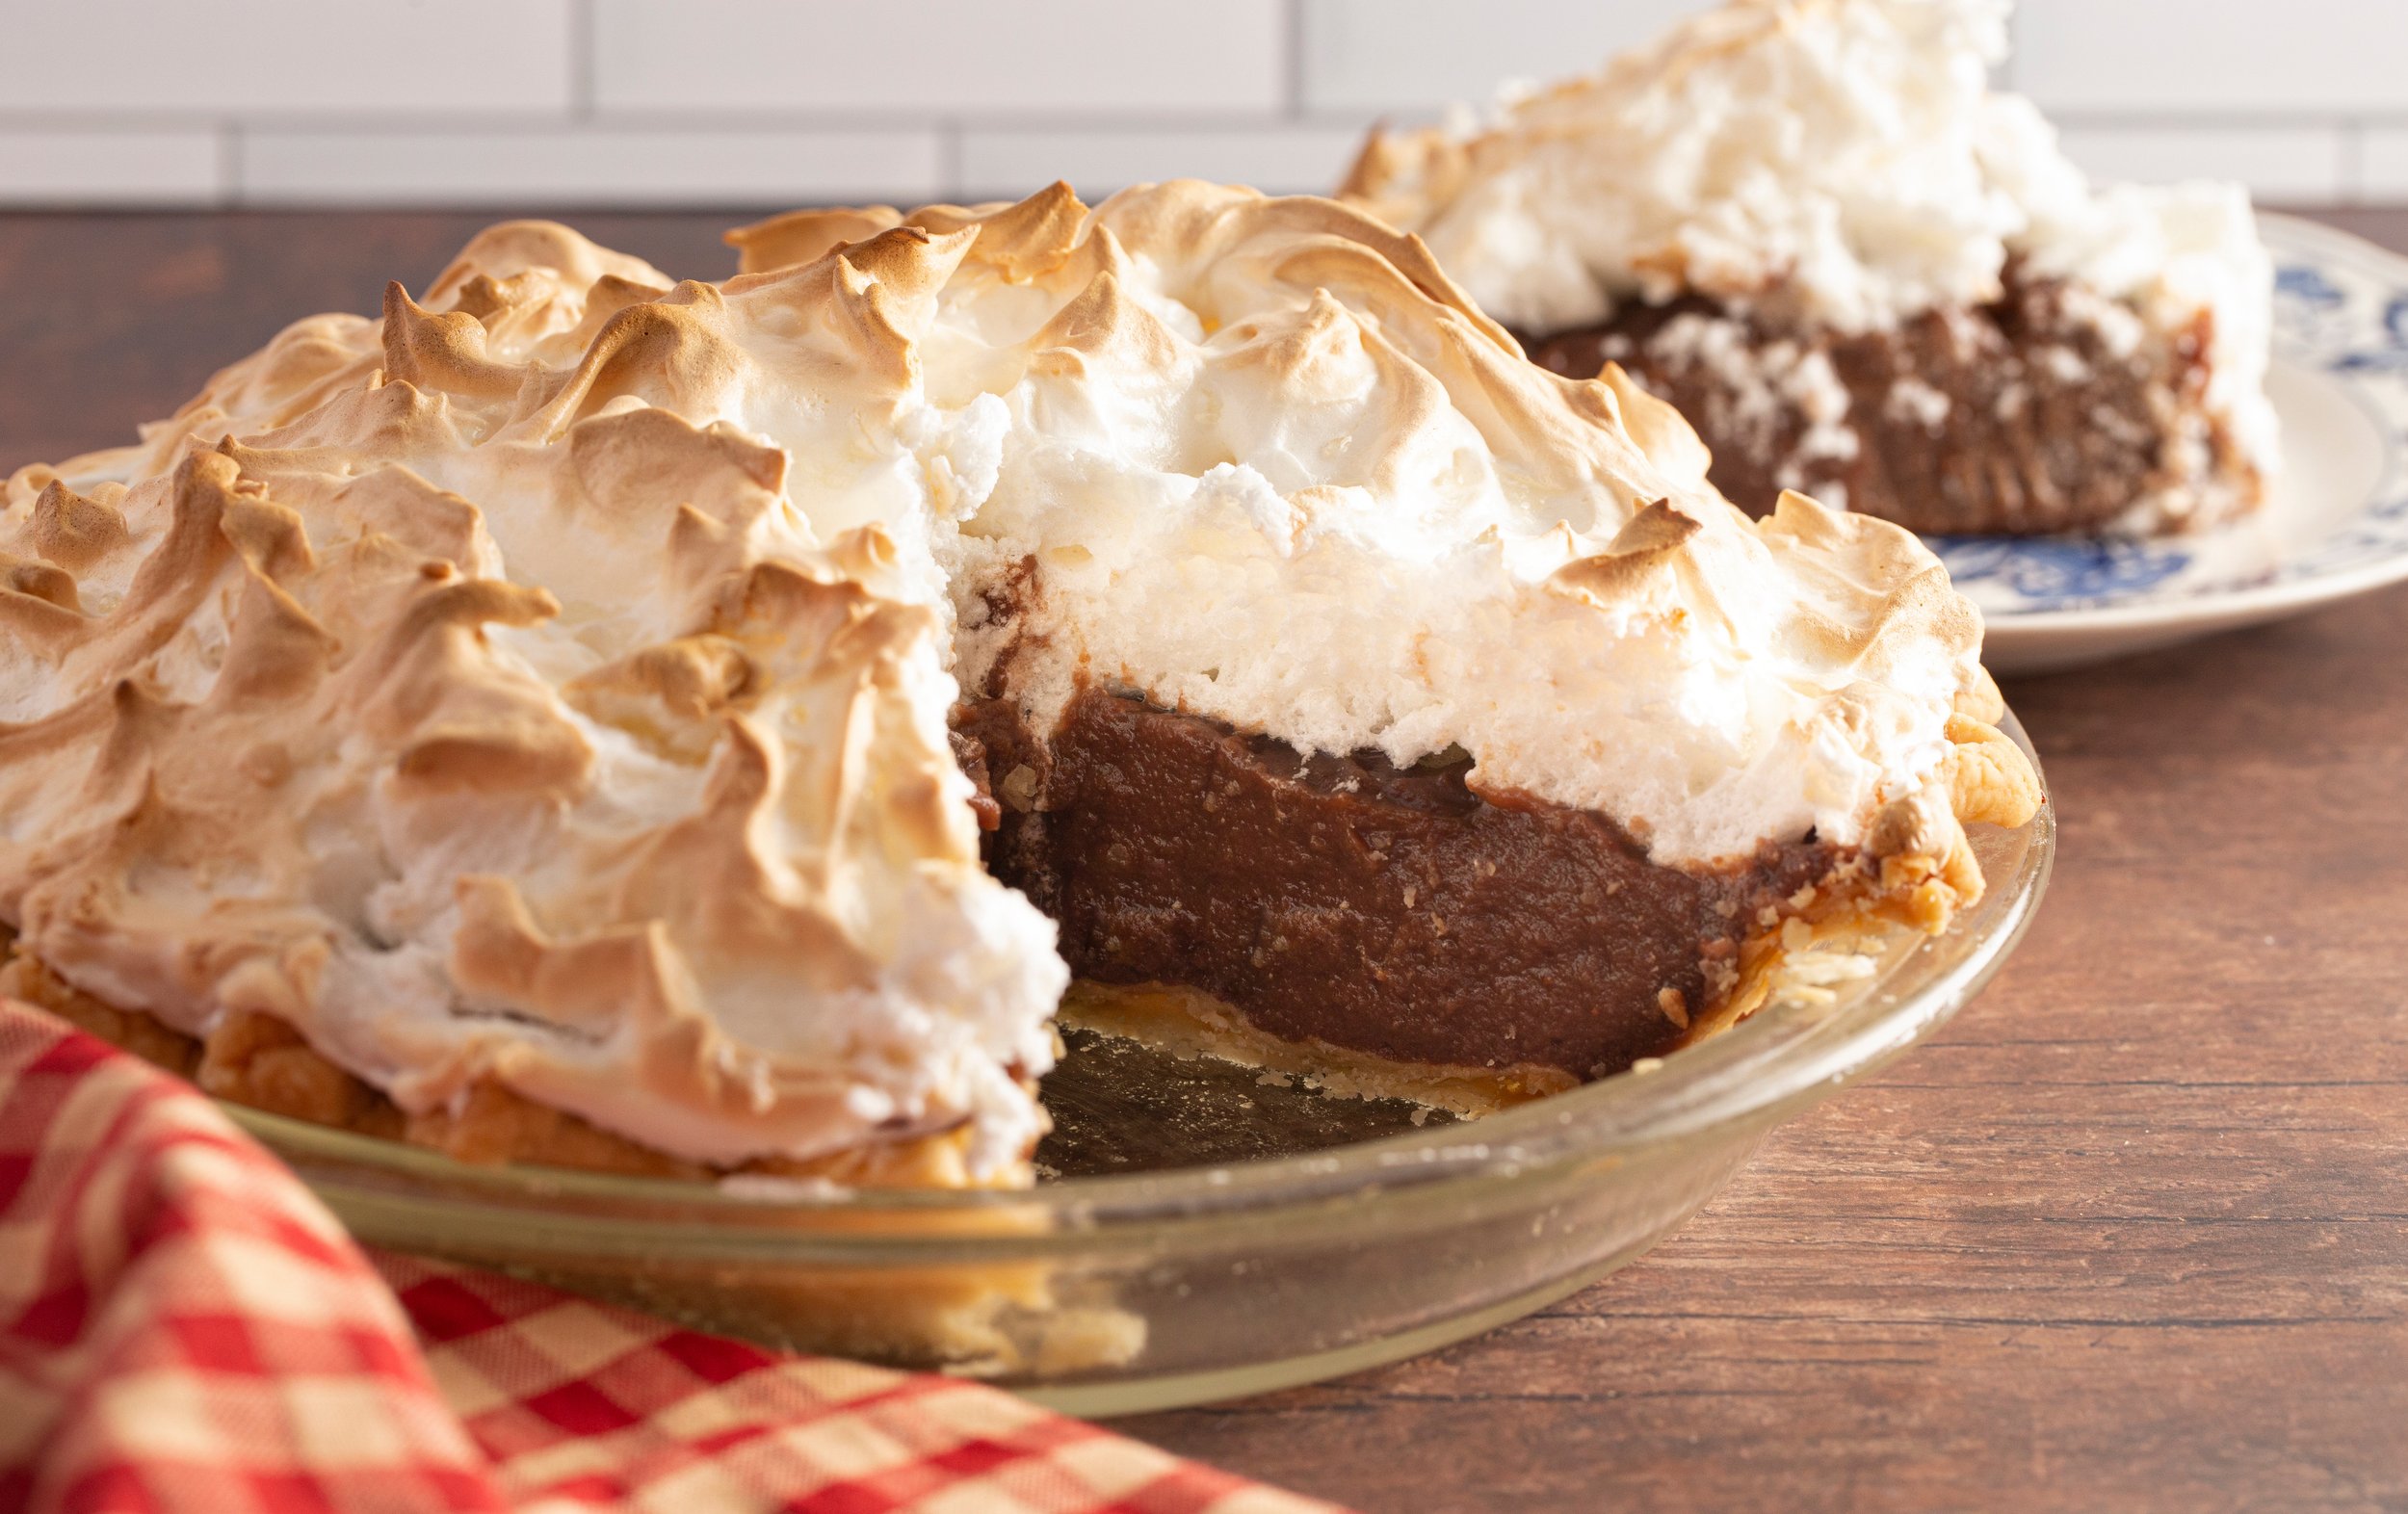
Campfire Pie
CRUST
10 whole chocolate graham crackers finely ground in a food processor or finely mashed in a zip lock bag
2 tablespoons heavy cream
4 tablespoons Nutella
2 ounces melted dark chocolate
1 tablespoon melted unsalted butter
GANACHE
16 ounces semisweet or dark chocolate finely chopped
3 tablespoons unsalted butter
1 ¼ cup heavy cream
3 tablespoons instant espresso/ coffee granules.
TOPPING
3 large egg whites
2/3 cup of granulated sugar
Using a large bowl combine the graham cracker crumbs, the cream, the Nutella, the chocolate and the melted butter from the crust ingredients into a bowl and thoroughly mix. Press into the pie pan to evenly create a bottom and side crusts. Chill for at least 30 minutes.
While that is chilling, place the chocolate and the butter from the ganache ingredients into a large bowl. Place the cream and 3 tablespoons of water and the instant coffee/ espresso into a small saucepan, stir to incorporate and bring to a boil. Remove from the heat and stir and let sit for 5 to 10 minutes. Stir into the set aside bowl of chocolate and butter and stir until well mixed and all is melted. Pour into the chilled crust and return to the refrigerator for an hour or two.
Now to the topping. If you want to make a meringue top, take the egg whites and the sugar and beat on medium speed until light and fluffy. Add sugar in 1/3 cup at a time and beat well between added sugar. Beat until the whites are stiff and shiny. Spread over the top of the chilled pie and either using a torch, toast the meringue or place in the oven under the broiler and carefully watch as it gets a golden-brown finish. OR you could use a pre-made whipped topping or marshmallow fluff as a topping. With a hot cup of coffee, this will be a winner!!
Here is another recipe for an easy dessert that requires no baking. I had this and it was made with lemon curd. But, to make the curd takes time and some patience or if it is purchased, it can get pricey for a jar of it. So, I played around and tried it with a quality lemon pudding and found that if you really juice up the lemon taste in additional ways it is just as tasty and can even bring in some real tartness with the end result. Then I used the Dr. Oteker Lemon Pie Filling and Dessert Mix from the supermarket instead of an instant pudding and it made the recipe feel that much more special and “homemade” and “made from scratch”. The whipped topping can be regular or fat free. It appears as a heavy dessert but in fact is light, creamy, and very lemony. Served with a lemon slice or a candied lemon peel would be the perfect accompaniment.
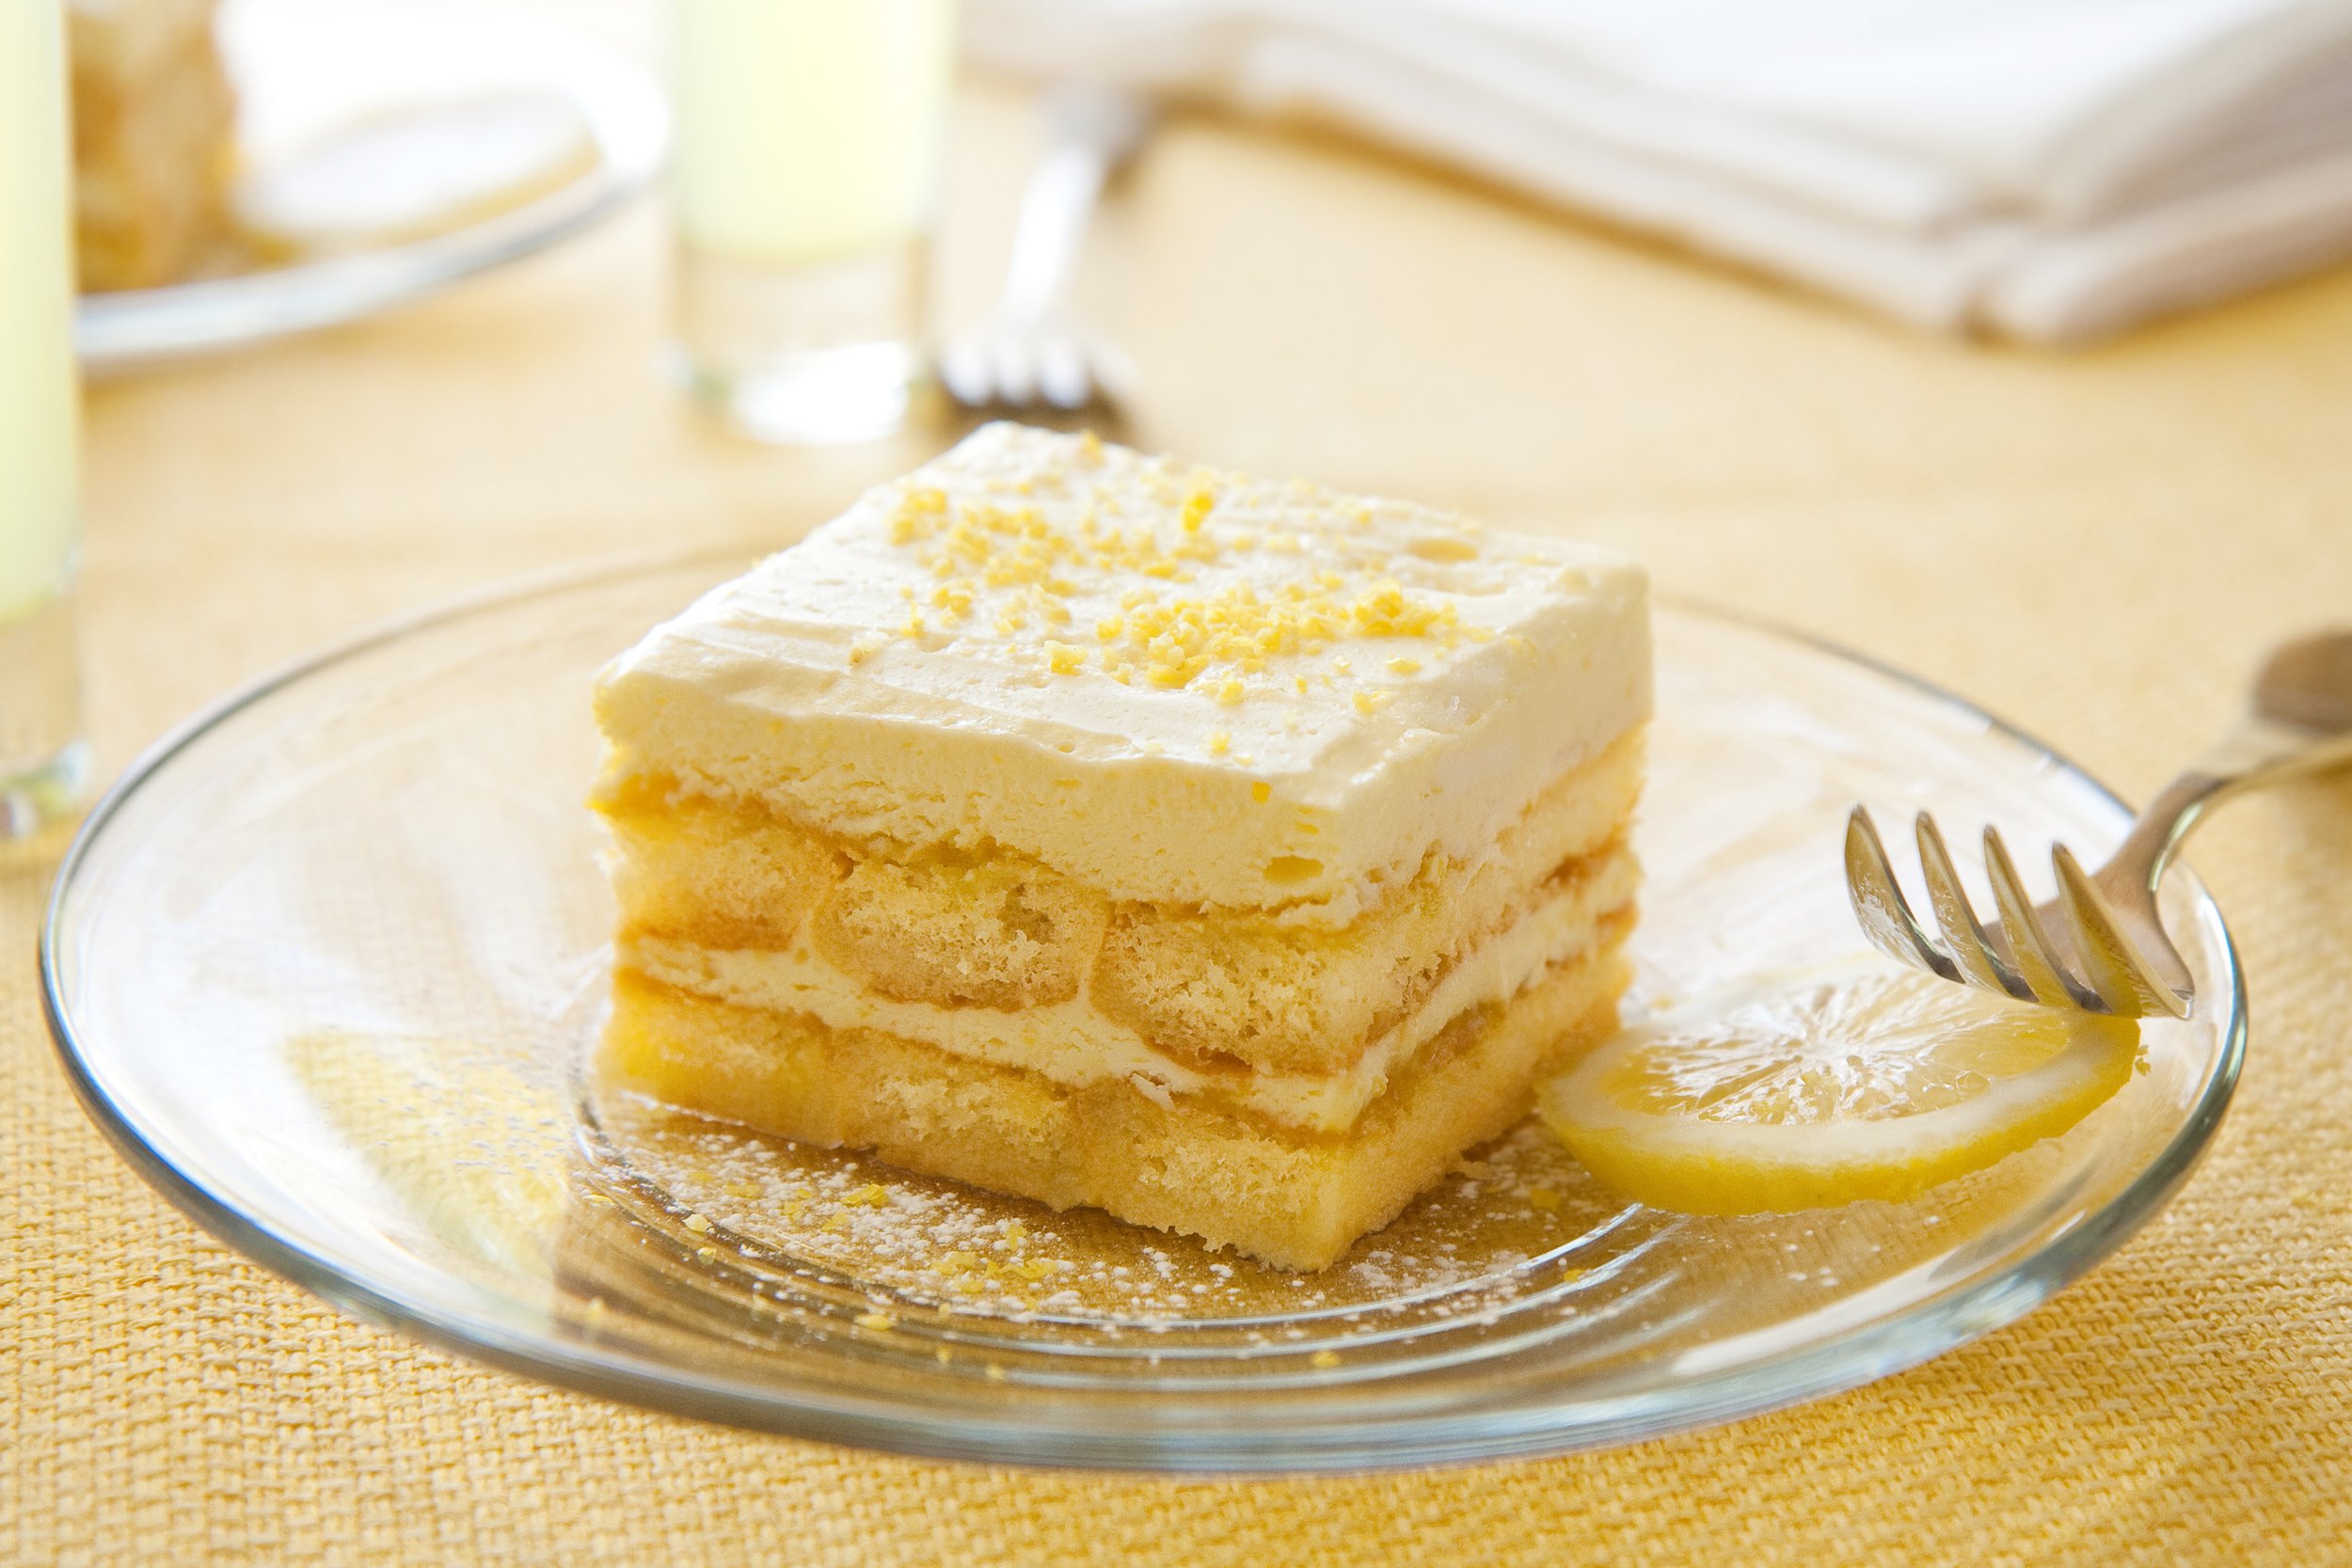
Lemon Ice Box Dessert
1 prepared box of Dr. Oetker’s Lemon Pie and Dessert Filling
2 egg yolks
1 tbsp. salted butter
1/3 cup cold water
2 cups boiling water
8 ounces of cream cheese at room temperature
½ teaspoon Lemon Oil
Juice from the 2 fresh lemons
Zest from 2 fresh lemons
3 tablespoons of confectioners’ sugar
1 small container of whipped topping
1 tablespoon of dried lemon peel
2 packages of dried ladyfingers
Make the Lemon Filling from the box according to the directions and set aside to allow to cool for 3 to 5 minutes. Do not allow to set up and “gel”.
While it is cooling, have your workstation set up and ready to whip the cream cheese mixture. Using a hand or stand mixer whip cream cheese with the lemon oil and half of the lemon zest. Add the sugar and incorporate until smooth. Pour the cooling lemon filling into the cream cheese mixture and with a rubber spatula lightly stir the two fillings together to blend.
In a rectangular serving dish, place a layer of dried lady fingers on the bottom of the disk and brush each one with some of the fresh lemon juice. Add about 1/3 of the lemon mixture on top of the ladyfingers and spread to cover all. Add the rest of your lemon zest to the whipped topping in its container and mix in gently. Then spoon on about 1/3 of the whipped topping over top of the lemon mixture which is covering the ladyfingers brushed with fresh lemon juice. Add another layer of lemon juice brushed ladyfingers on that followed by another 1/3 of the lemon mixture and a layer of whipped topping. Put a final layering of all three to finish out each bowl of ingredients. Top with lemon zest or ladyfinger crumbs.
Cover with plastic wrap and refrigerate for several hours to let the ladyfingers soften. This can be made a day ahead to really infuse the flavors.